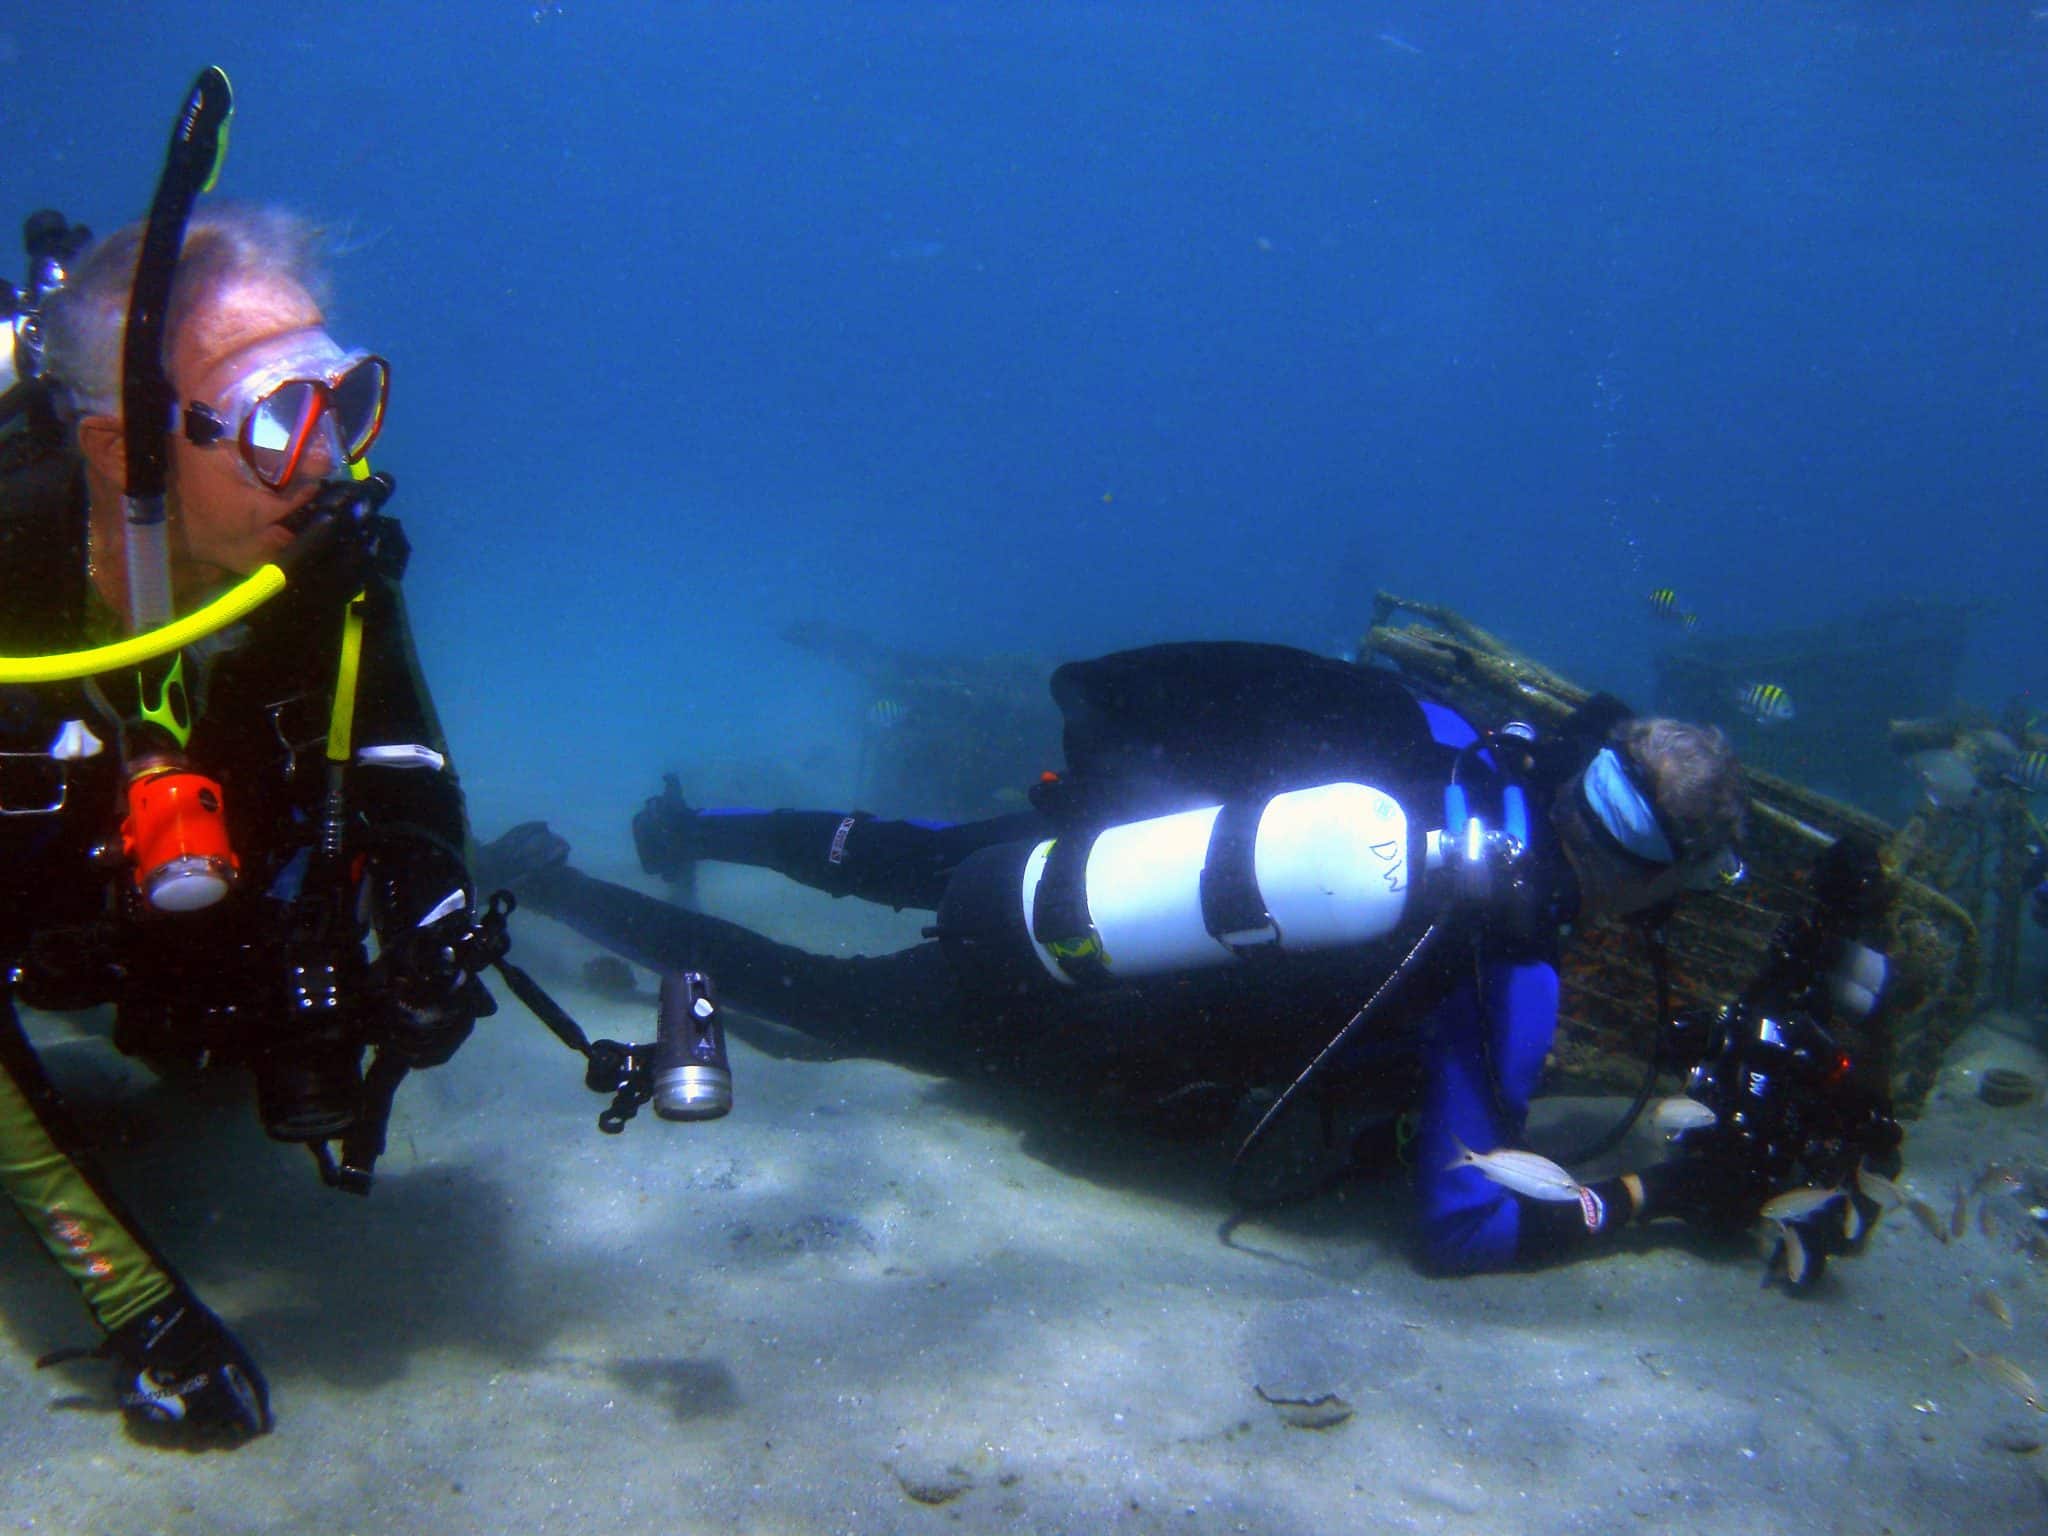
Over the holiday weekend, 6 dedicated divers and myself were at Blue Heron Bridge 3 days in row perfecting our “macro” photography skills.
Led by Chris Parsons from Nauticam, we each took hundreds of pictures, sometimes spending 10 to 20 minutes on a single subject!


Afterwards, we met back at Pura Vida Divers to learn about strobe positing, underwater lighting, exposure, post-processing, and much, much more.
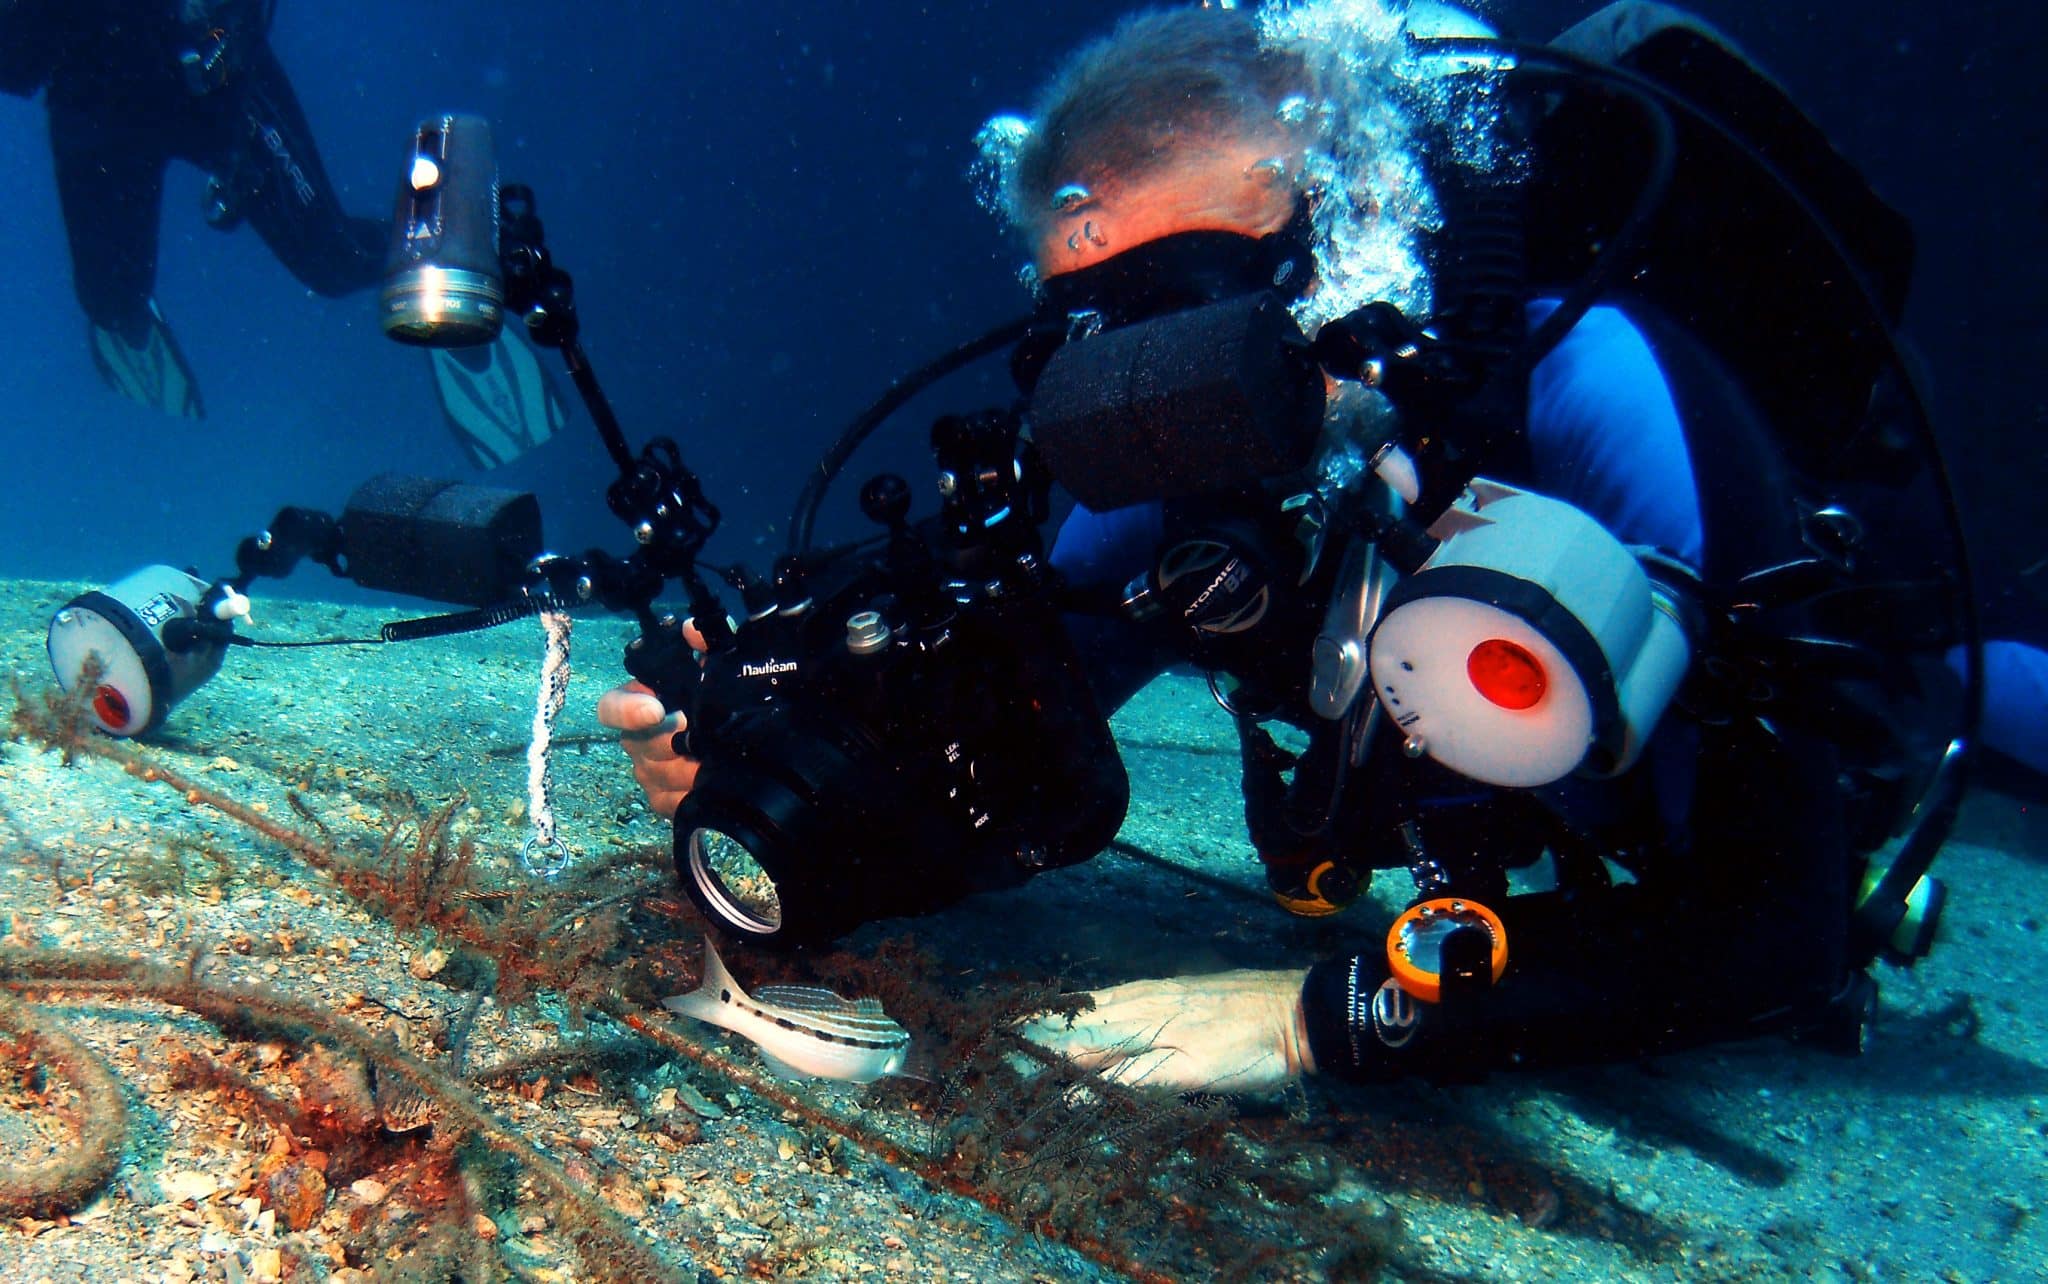
Mr. Parsons was kind enough to review our best work and help us individually with our cameras. A few favorite images from this workshop were recently posted on the Nauticam website.
Have you ever wondered how photographers capture such incredible images underwater?
Well, there is A LOT more to it than simply picking up a camera with an underwater casing. I won’t go into too much detail, but here are some of the helpful hints from Mr. Parsons’ class that I think can make a HUGE difference in your underwater pictures…
Top 10 Rules for Underwater Photography
(from Chris Parsons)
1) Shoot in RAW (not jpeg)
Translation: RAW is a setting that you can switch to before shooting. It will make editing much easier. This setting is mostly found on SLRs
2) Strobe Position
Translation: Move your strobes to get the correct lighting on your subject in order to bring out more color, but don’t blind the poor thing.
3) Use the histogram and blinking highlights on your camera to know if you’re overexposing the image (this is only on SLRs from what I hear & it’s different for each camera).
4) Experiment!!!
Translation: Try different aperture, ISO, and shutter speed settings as well as strobe placement…basically, have fun!
5) Break the Auto Habit
Translation: Shoot in “manual” mode, I know, very scary, but you can control a lot more.
6) Critical Focus
Translation: Something in your image must be in focus (eyes are always good!).
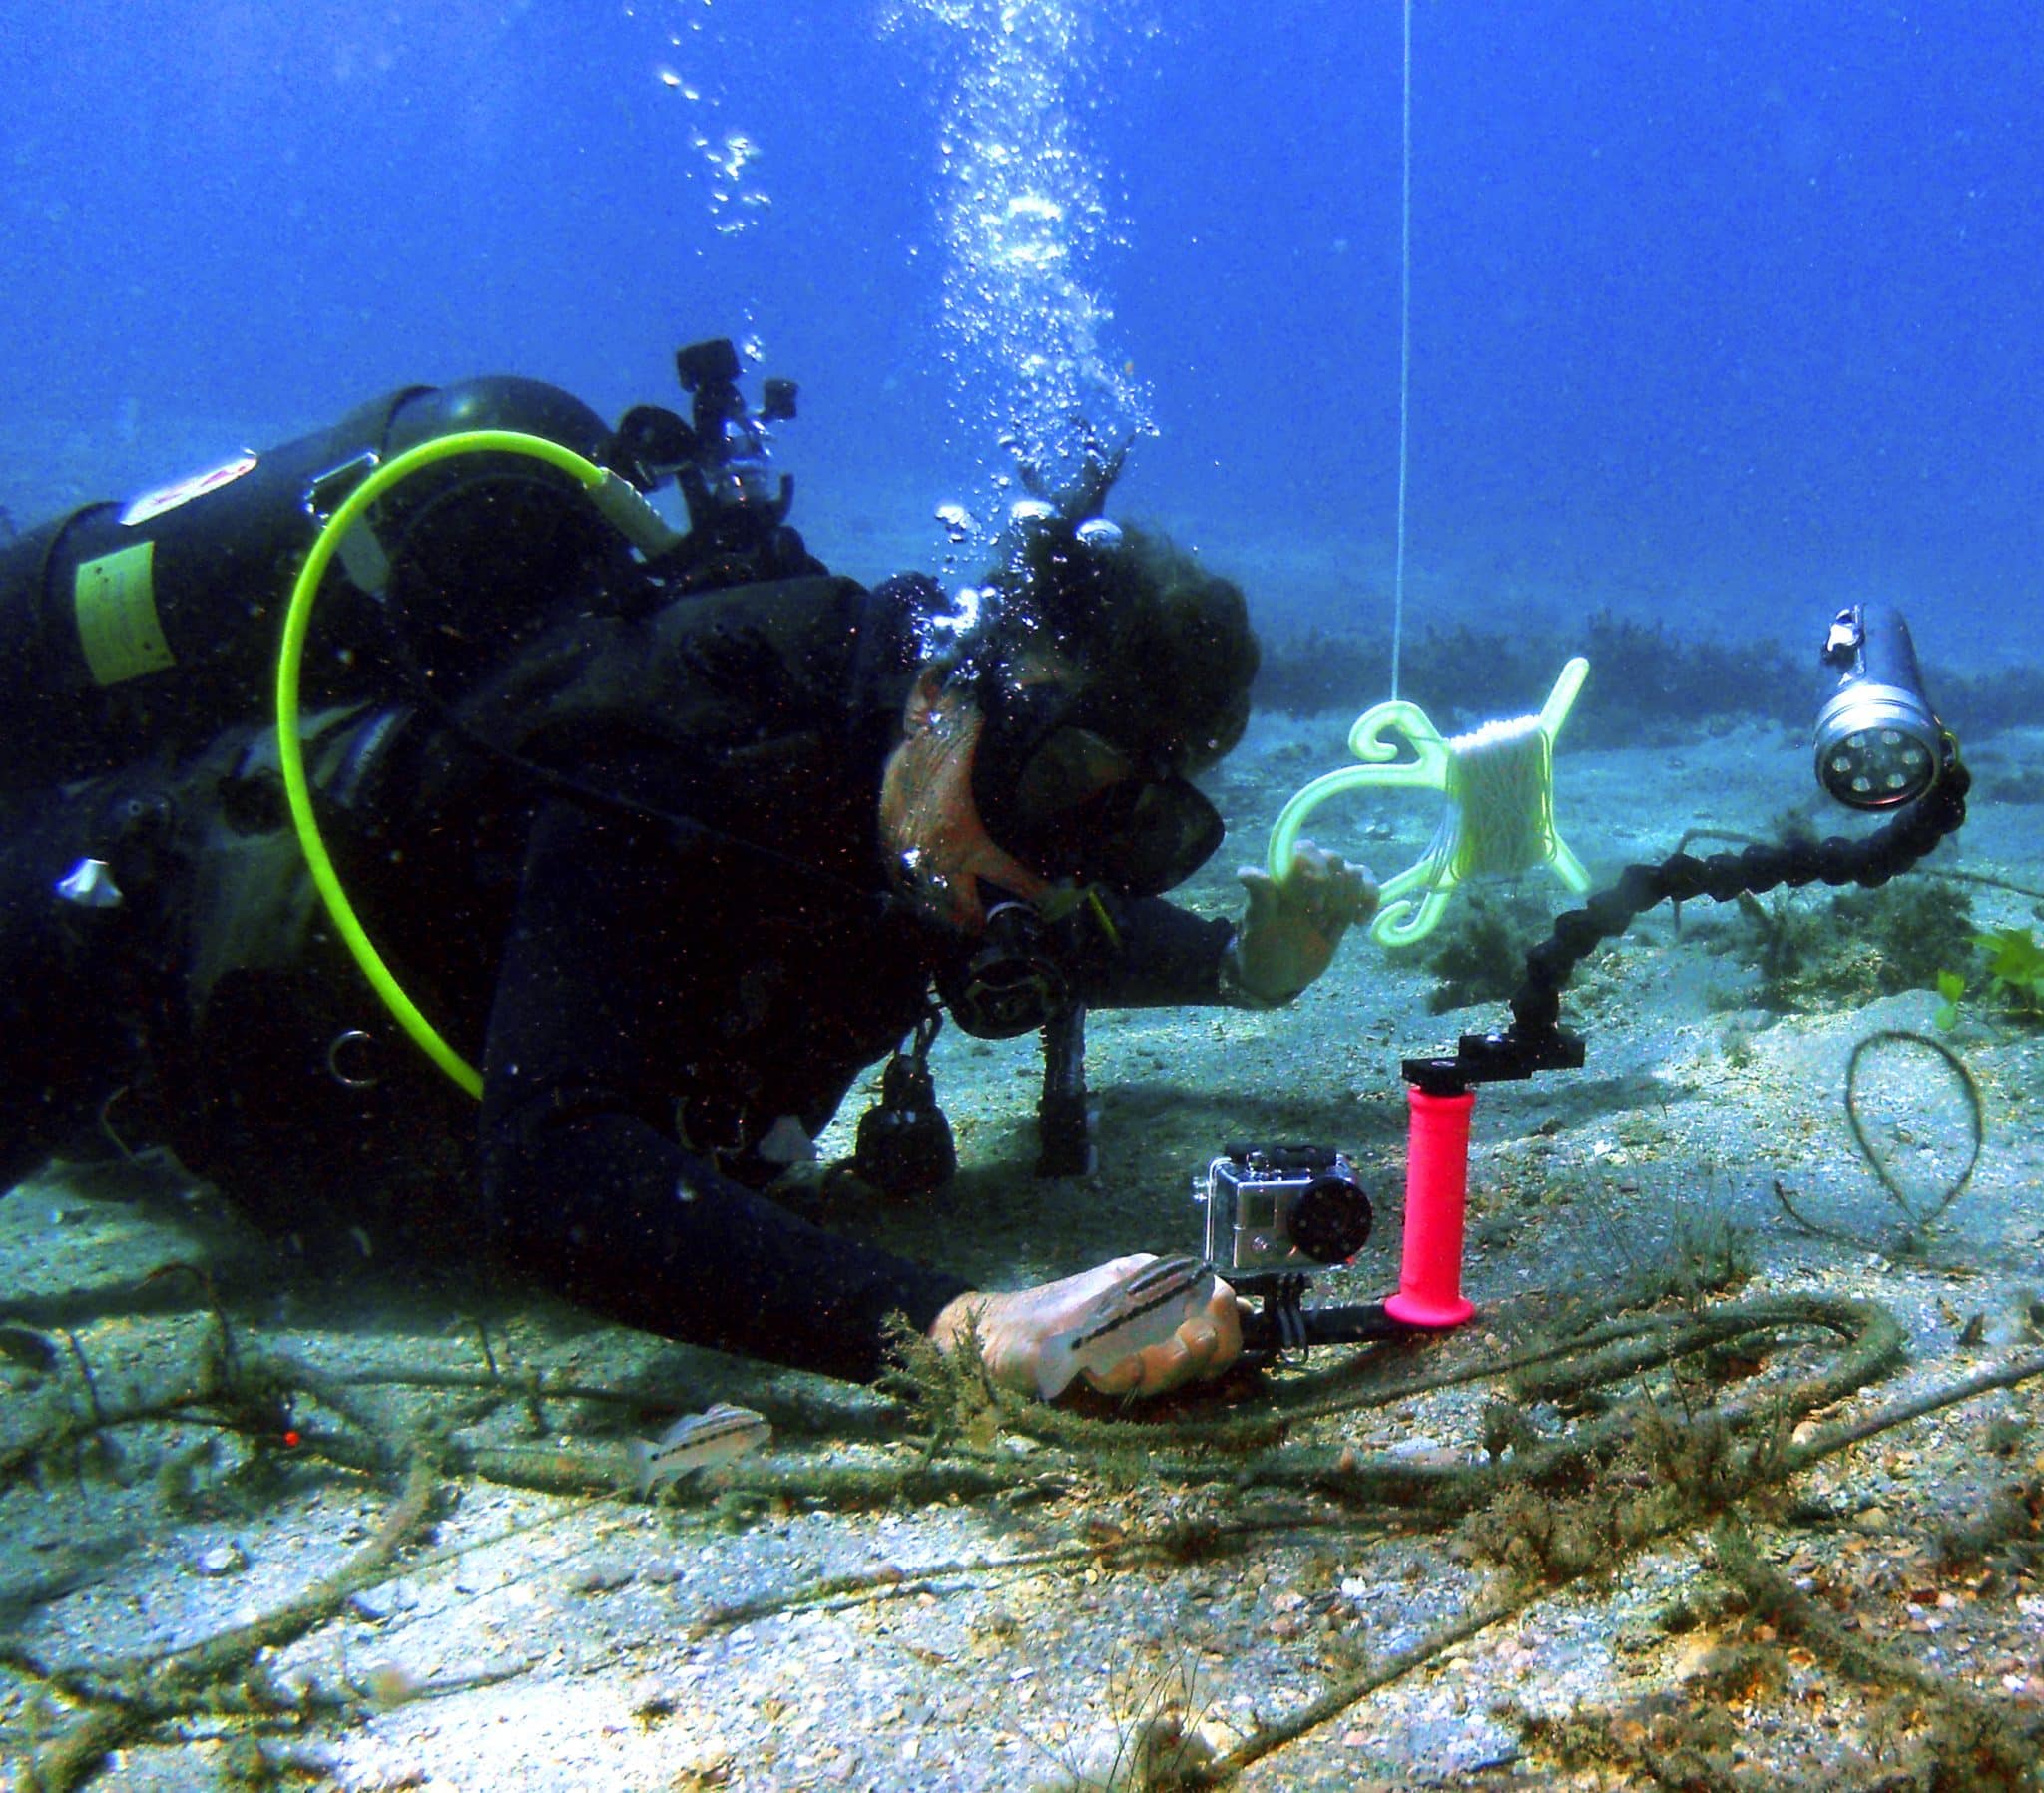
7) Think Background
Translation: Don’t forget what’s behind the subject. Make it interesting but not too cluttered, or get rid of the background all together if needed.
8) Try moving your subject from the center of the frame.
Translation: Position your camera so that your subject is off-center in the image; don’t literally pick up the animal!
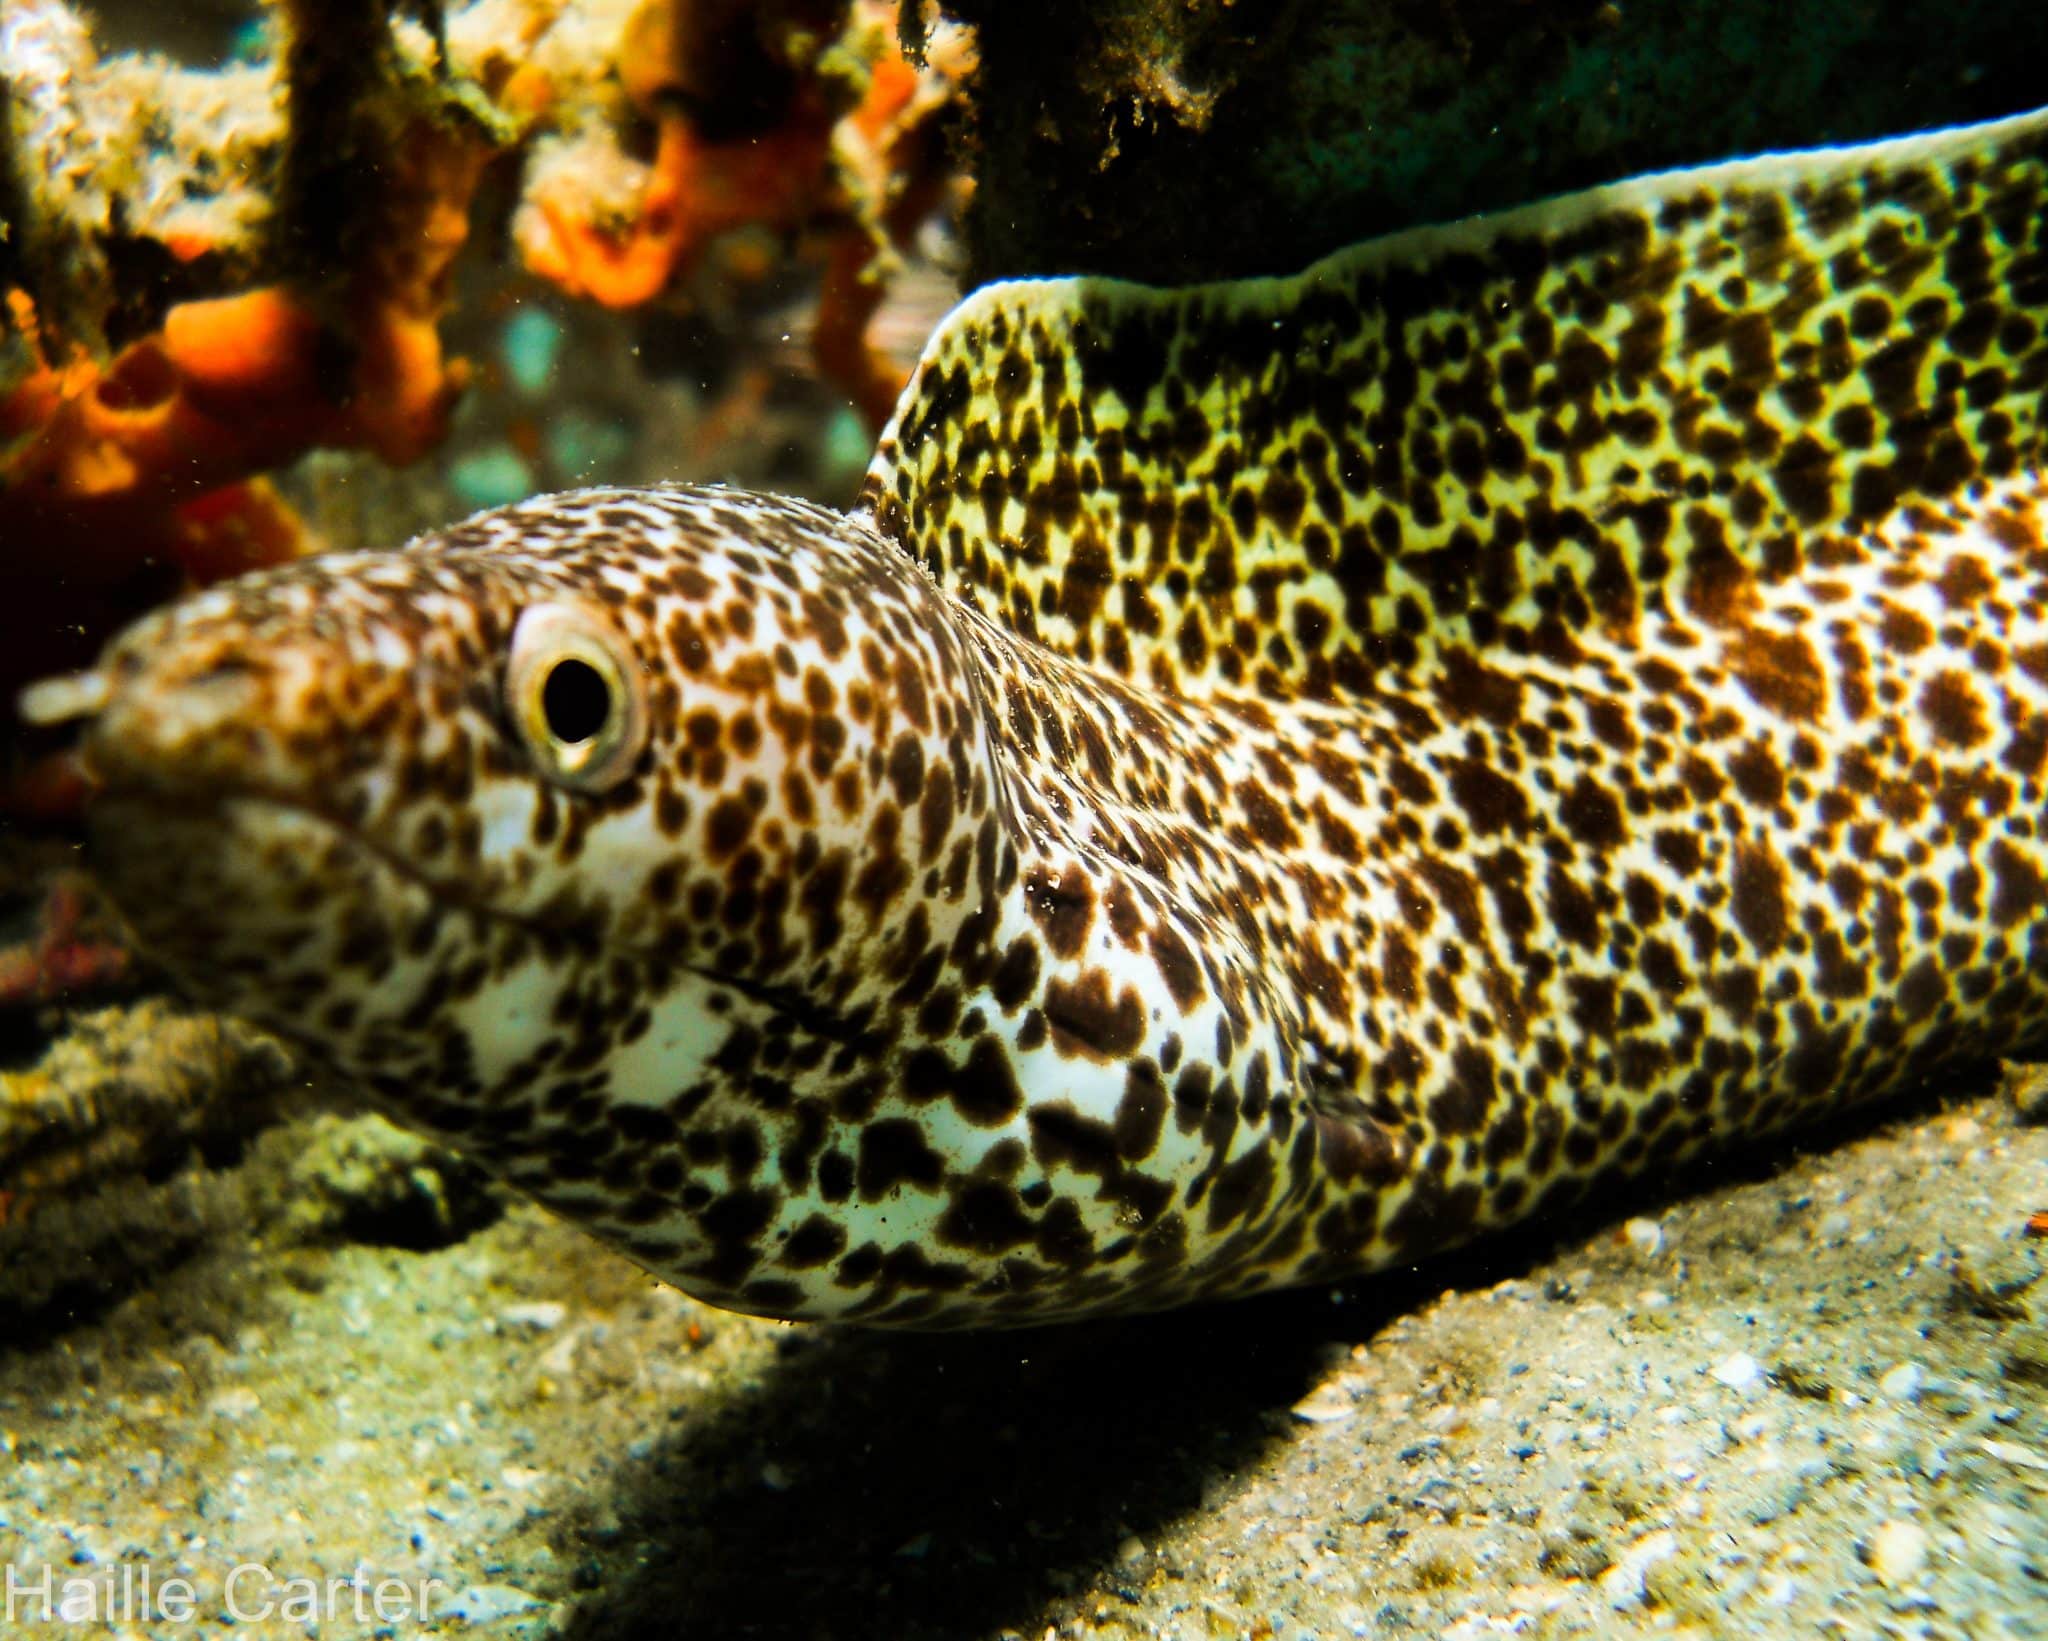
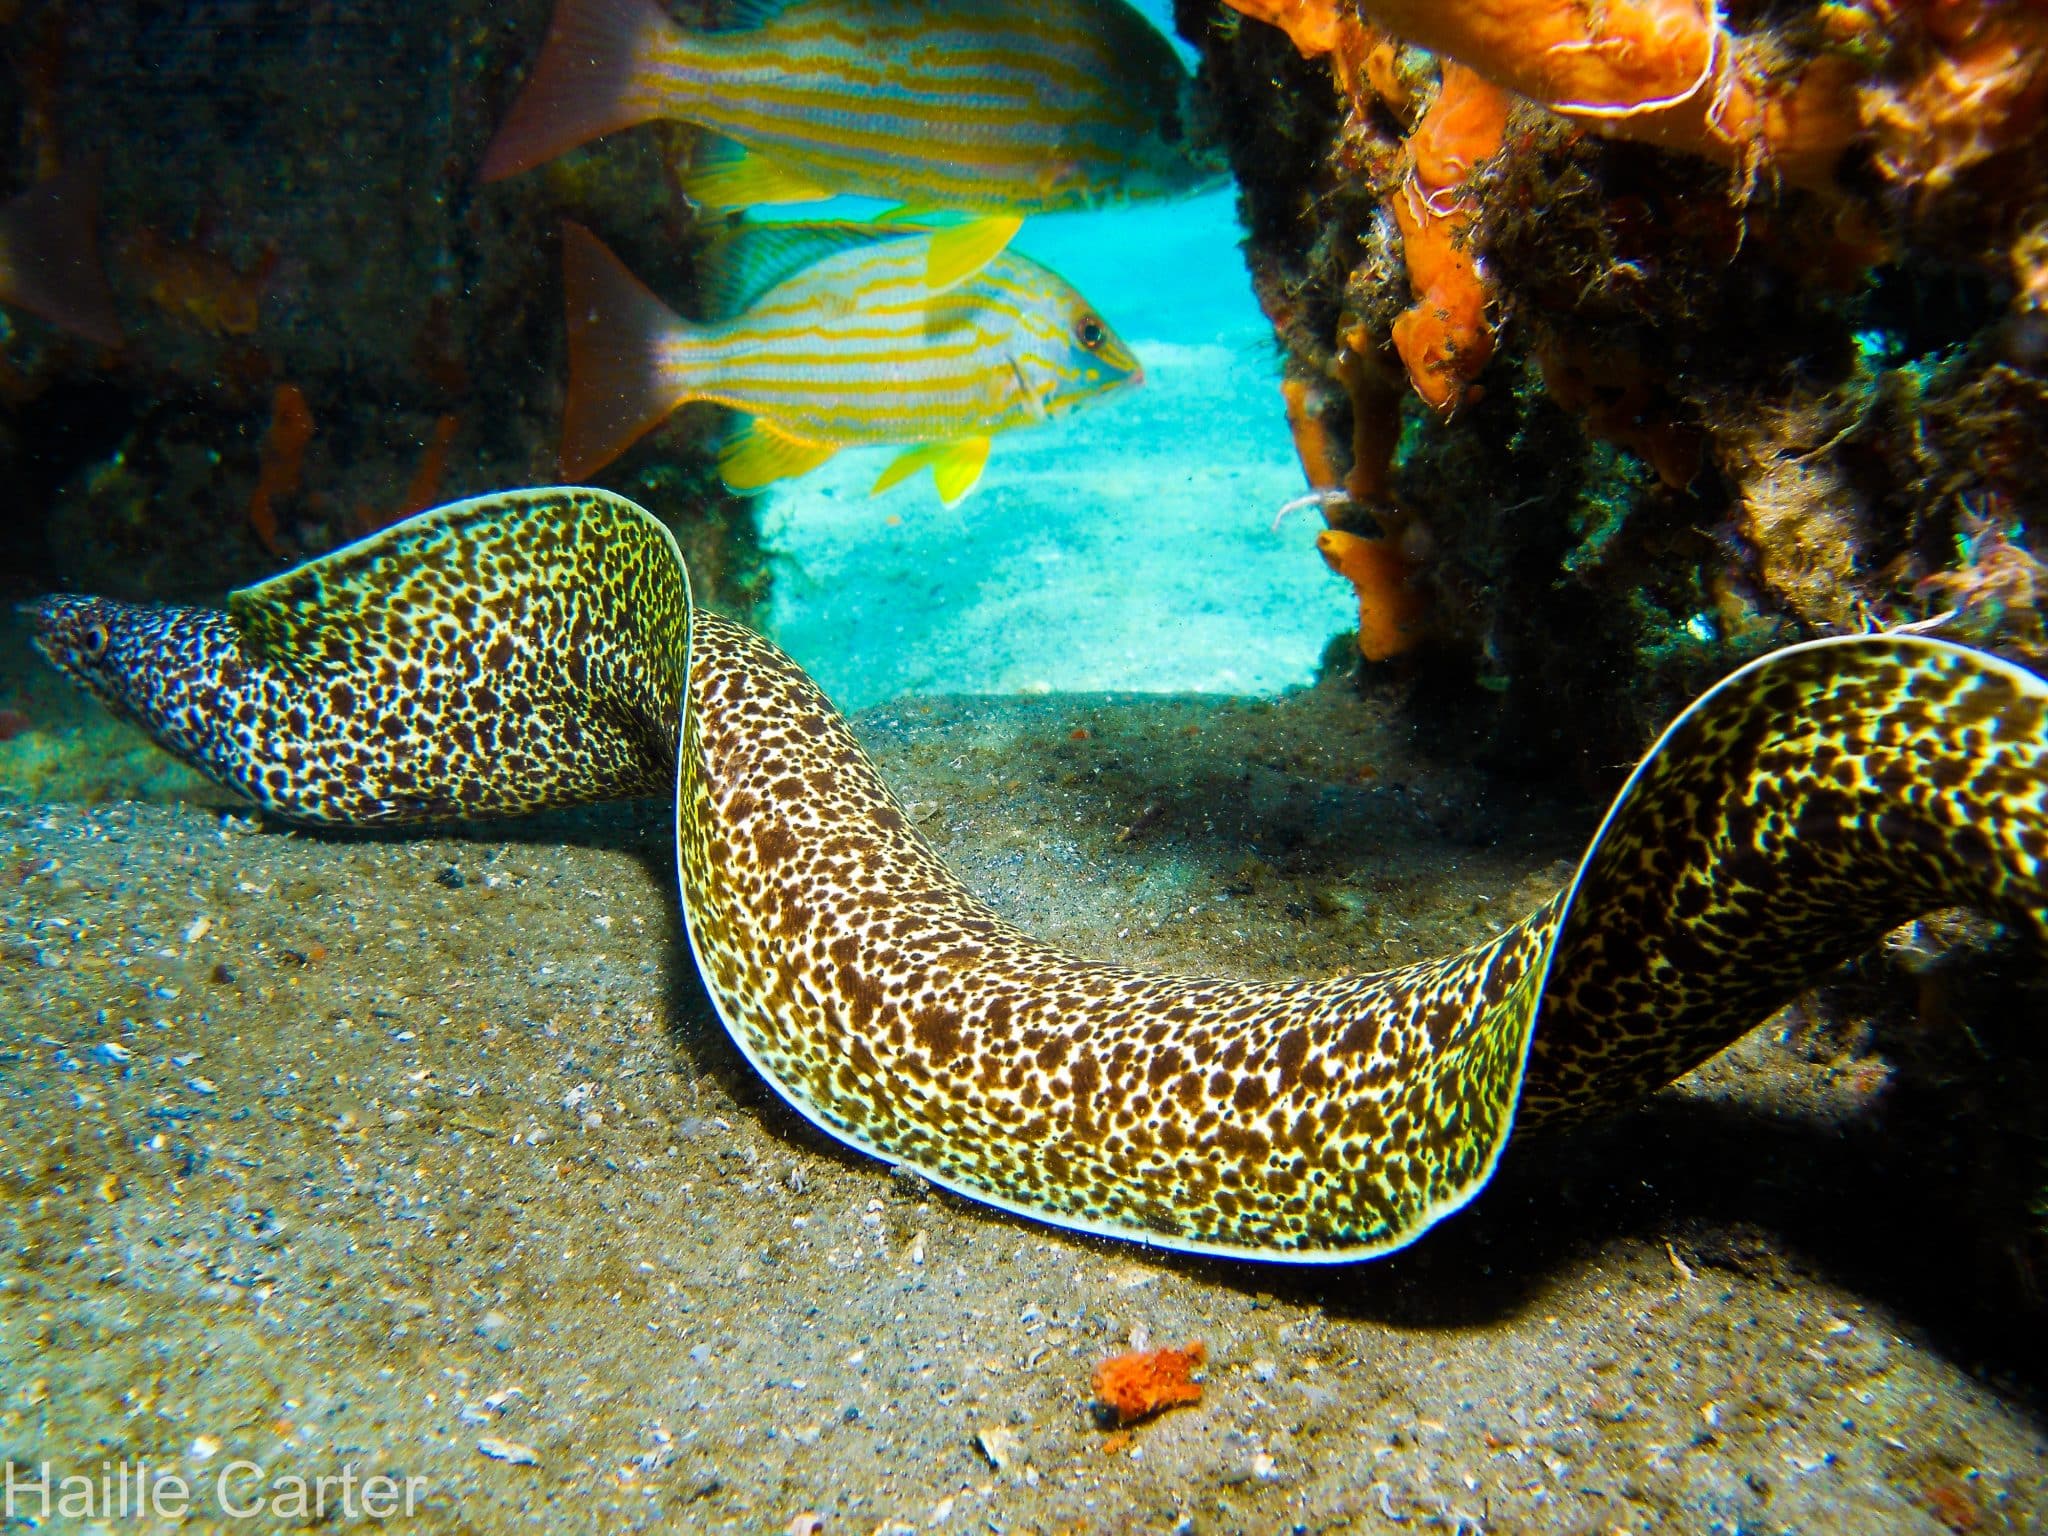
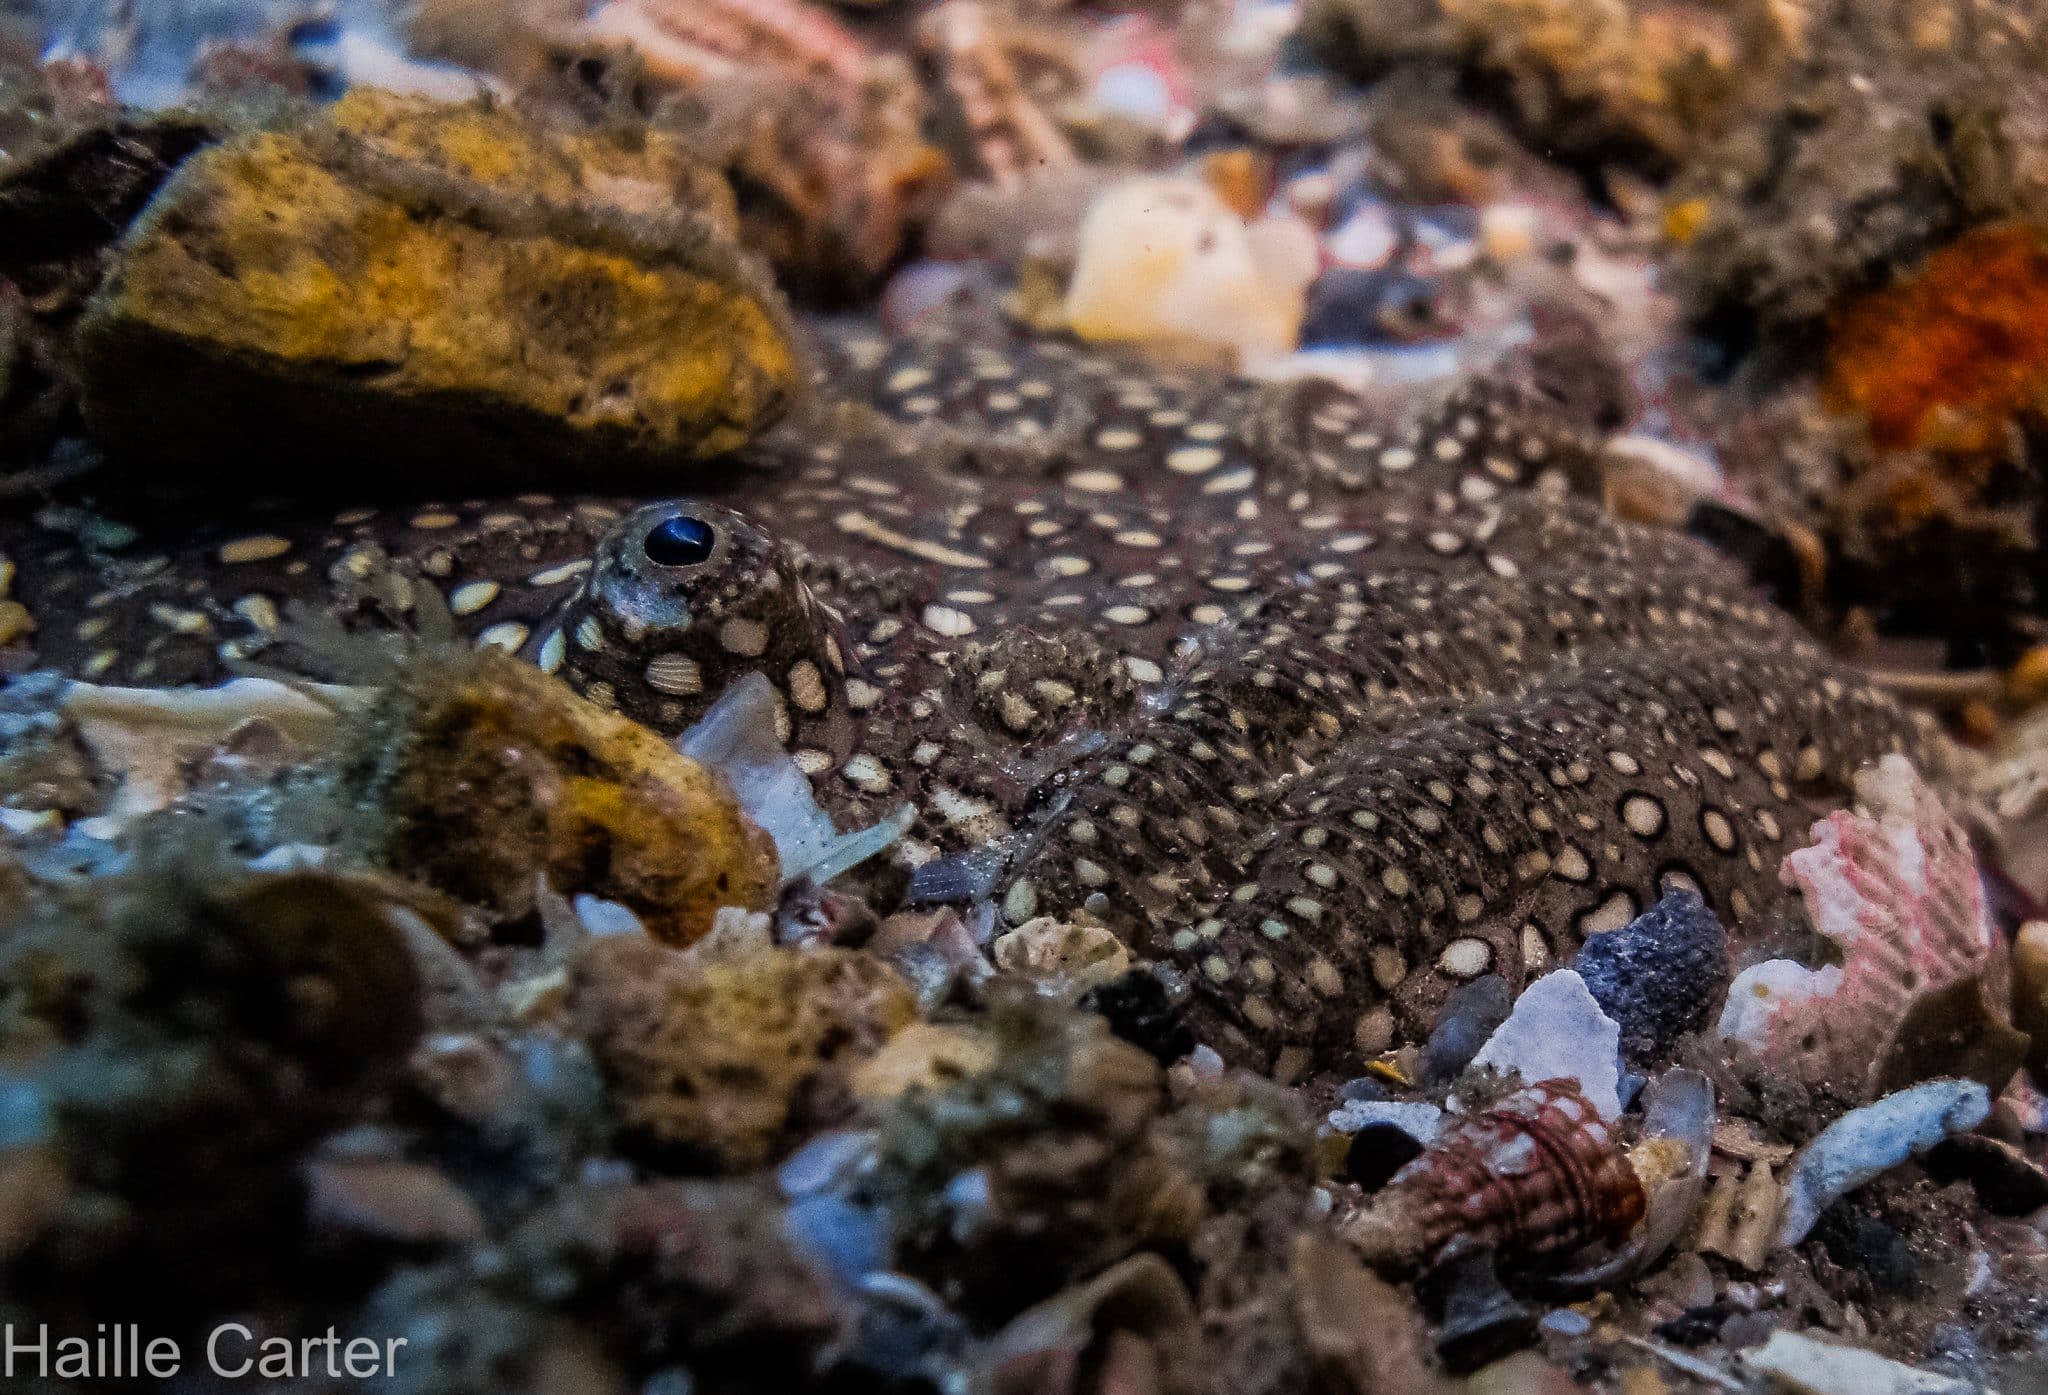
9) Shoot easy subjects (like eels)
10) Get CLOSE (very close!) and shoot up (towards the surface)
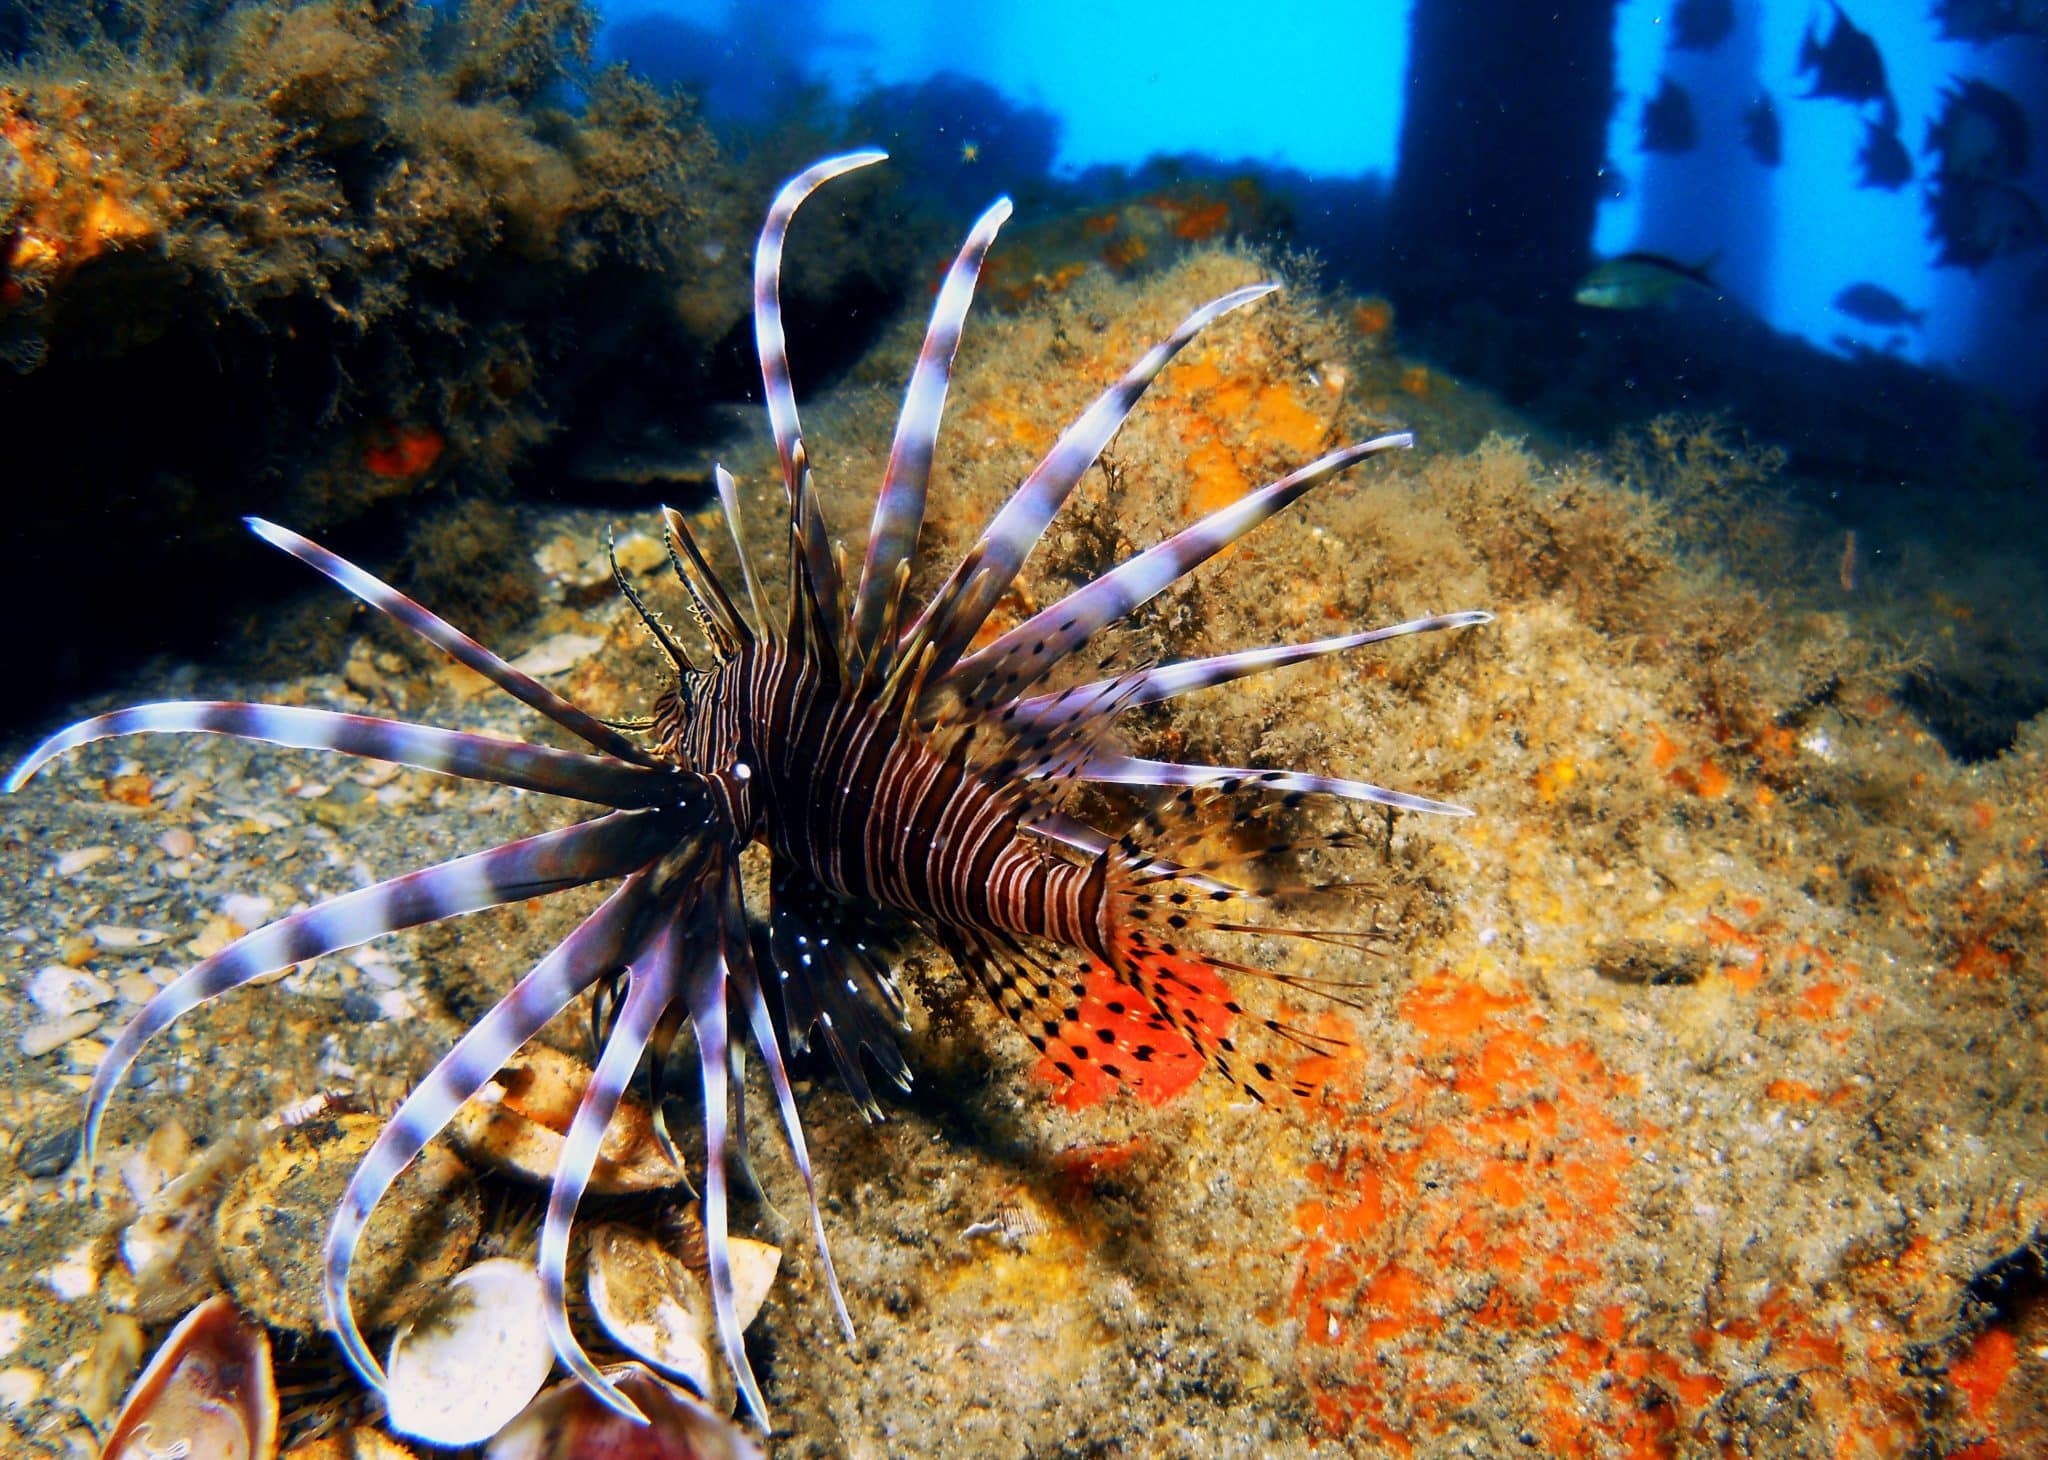
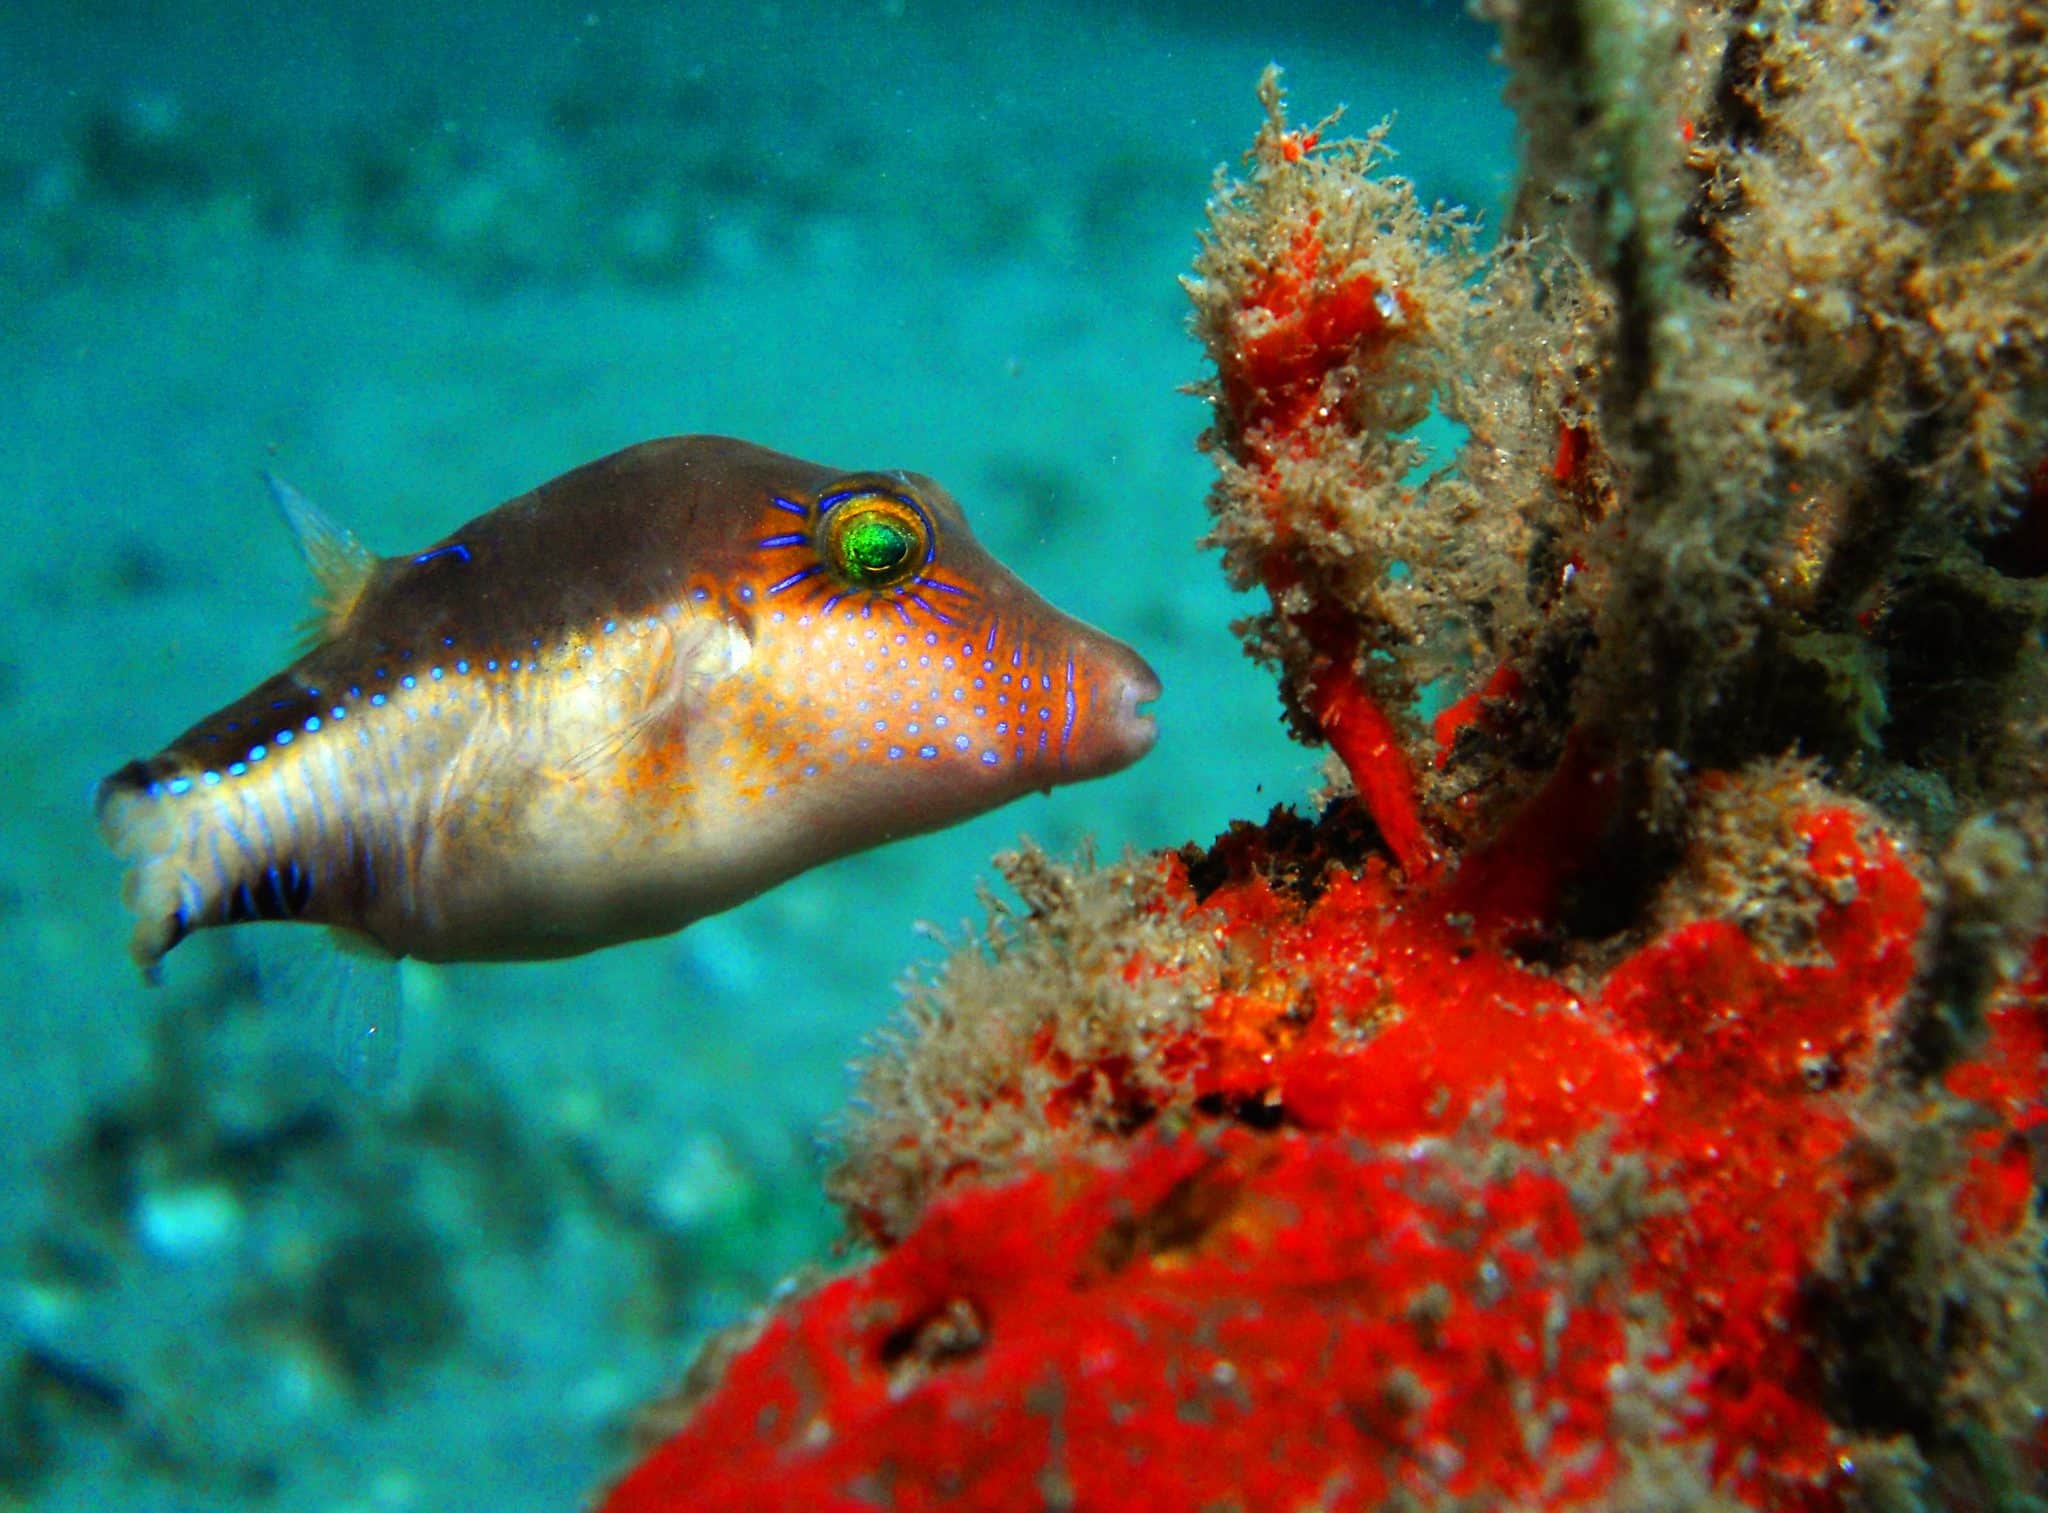
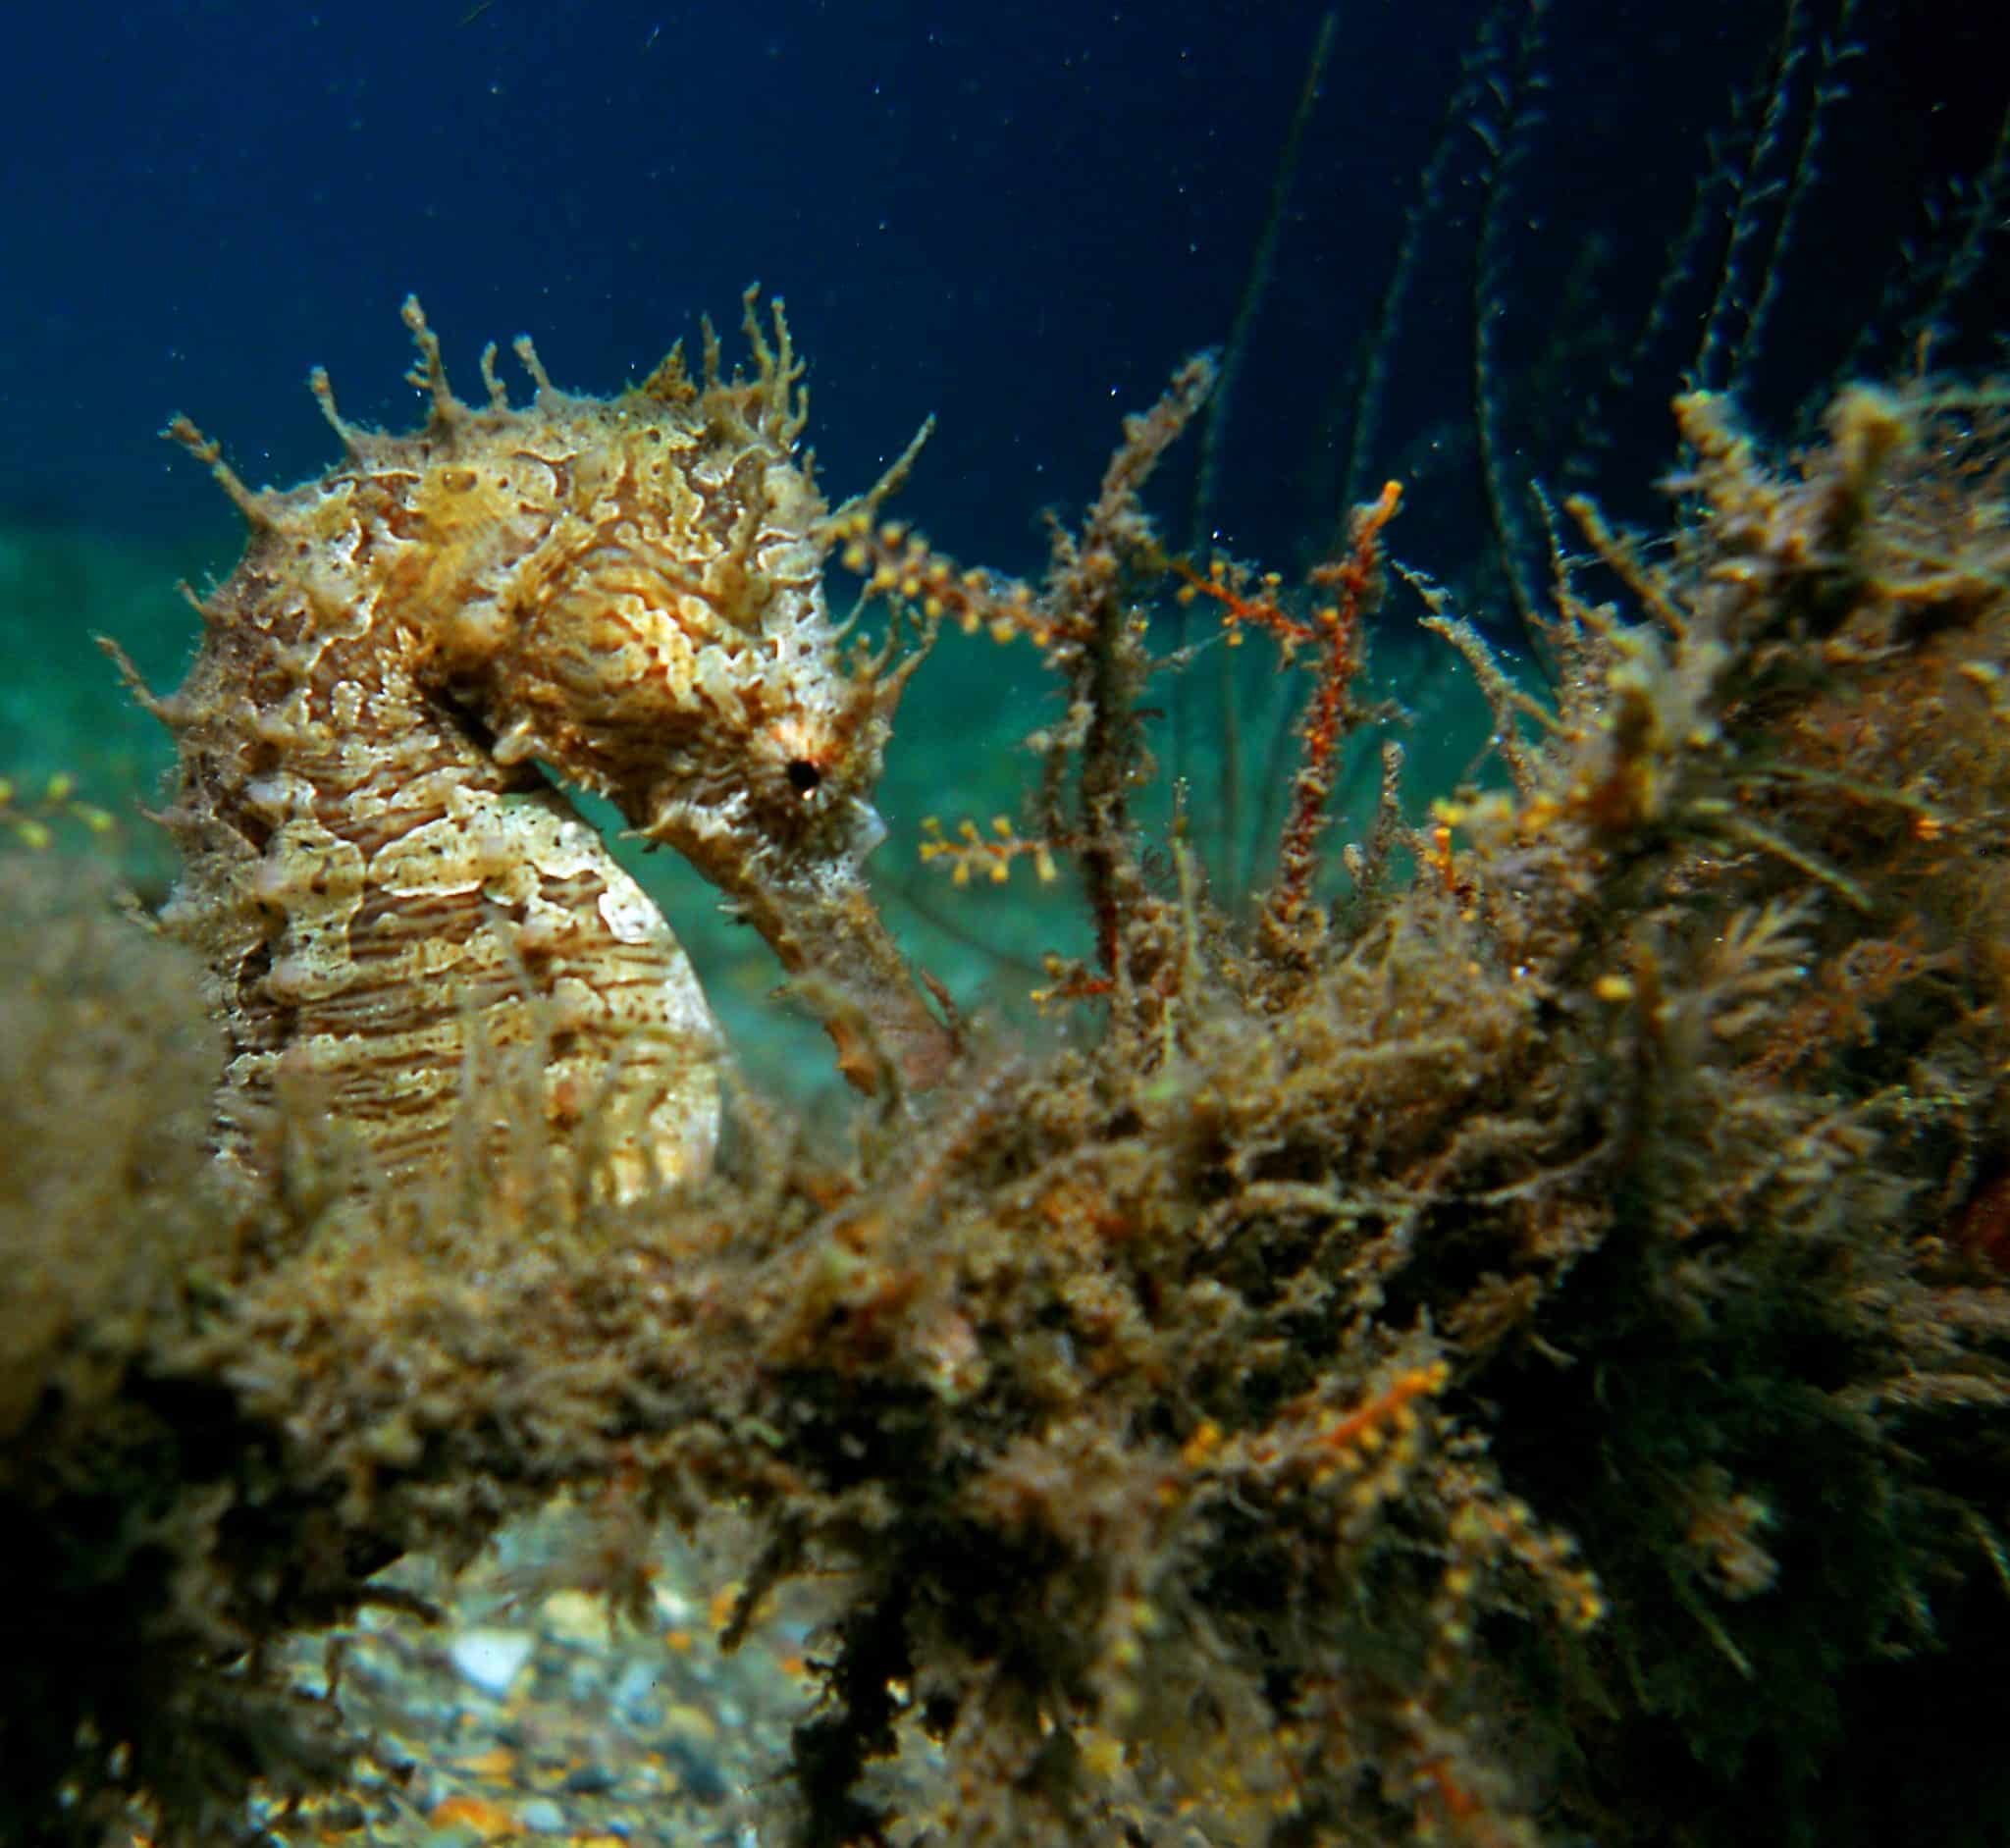
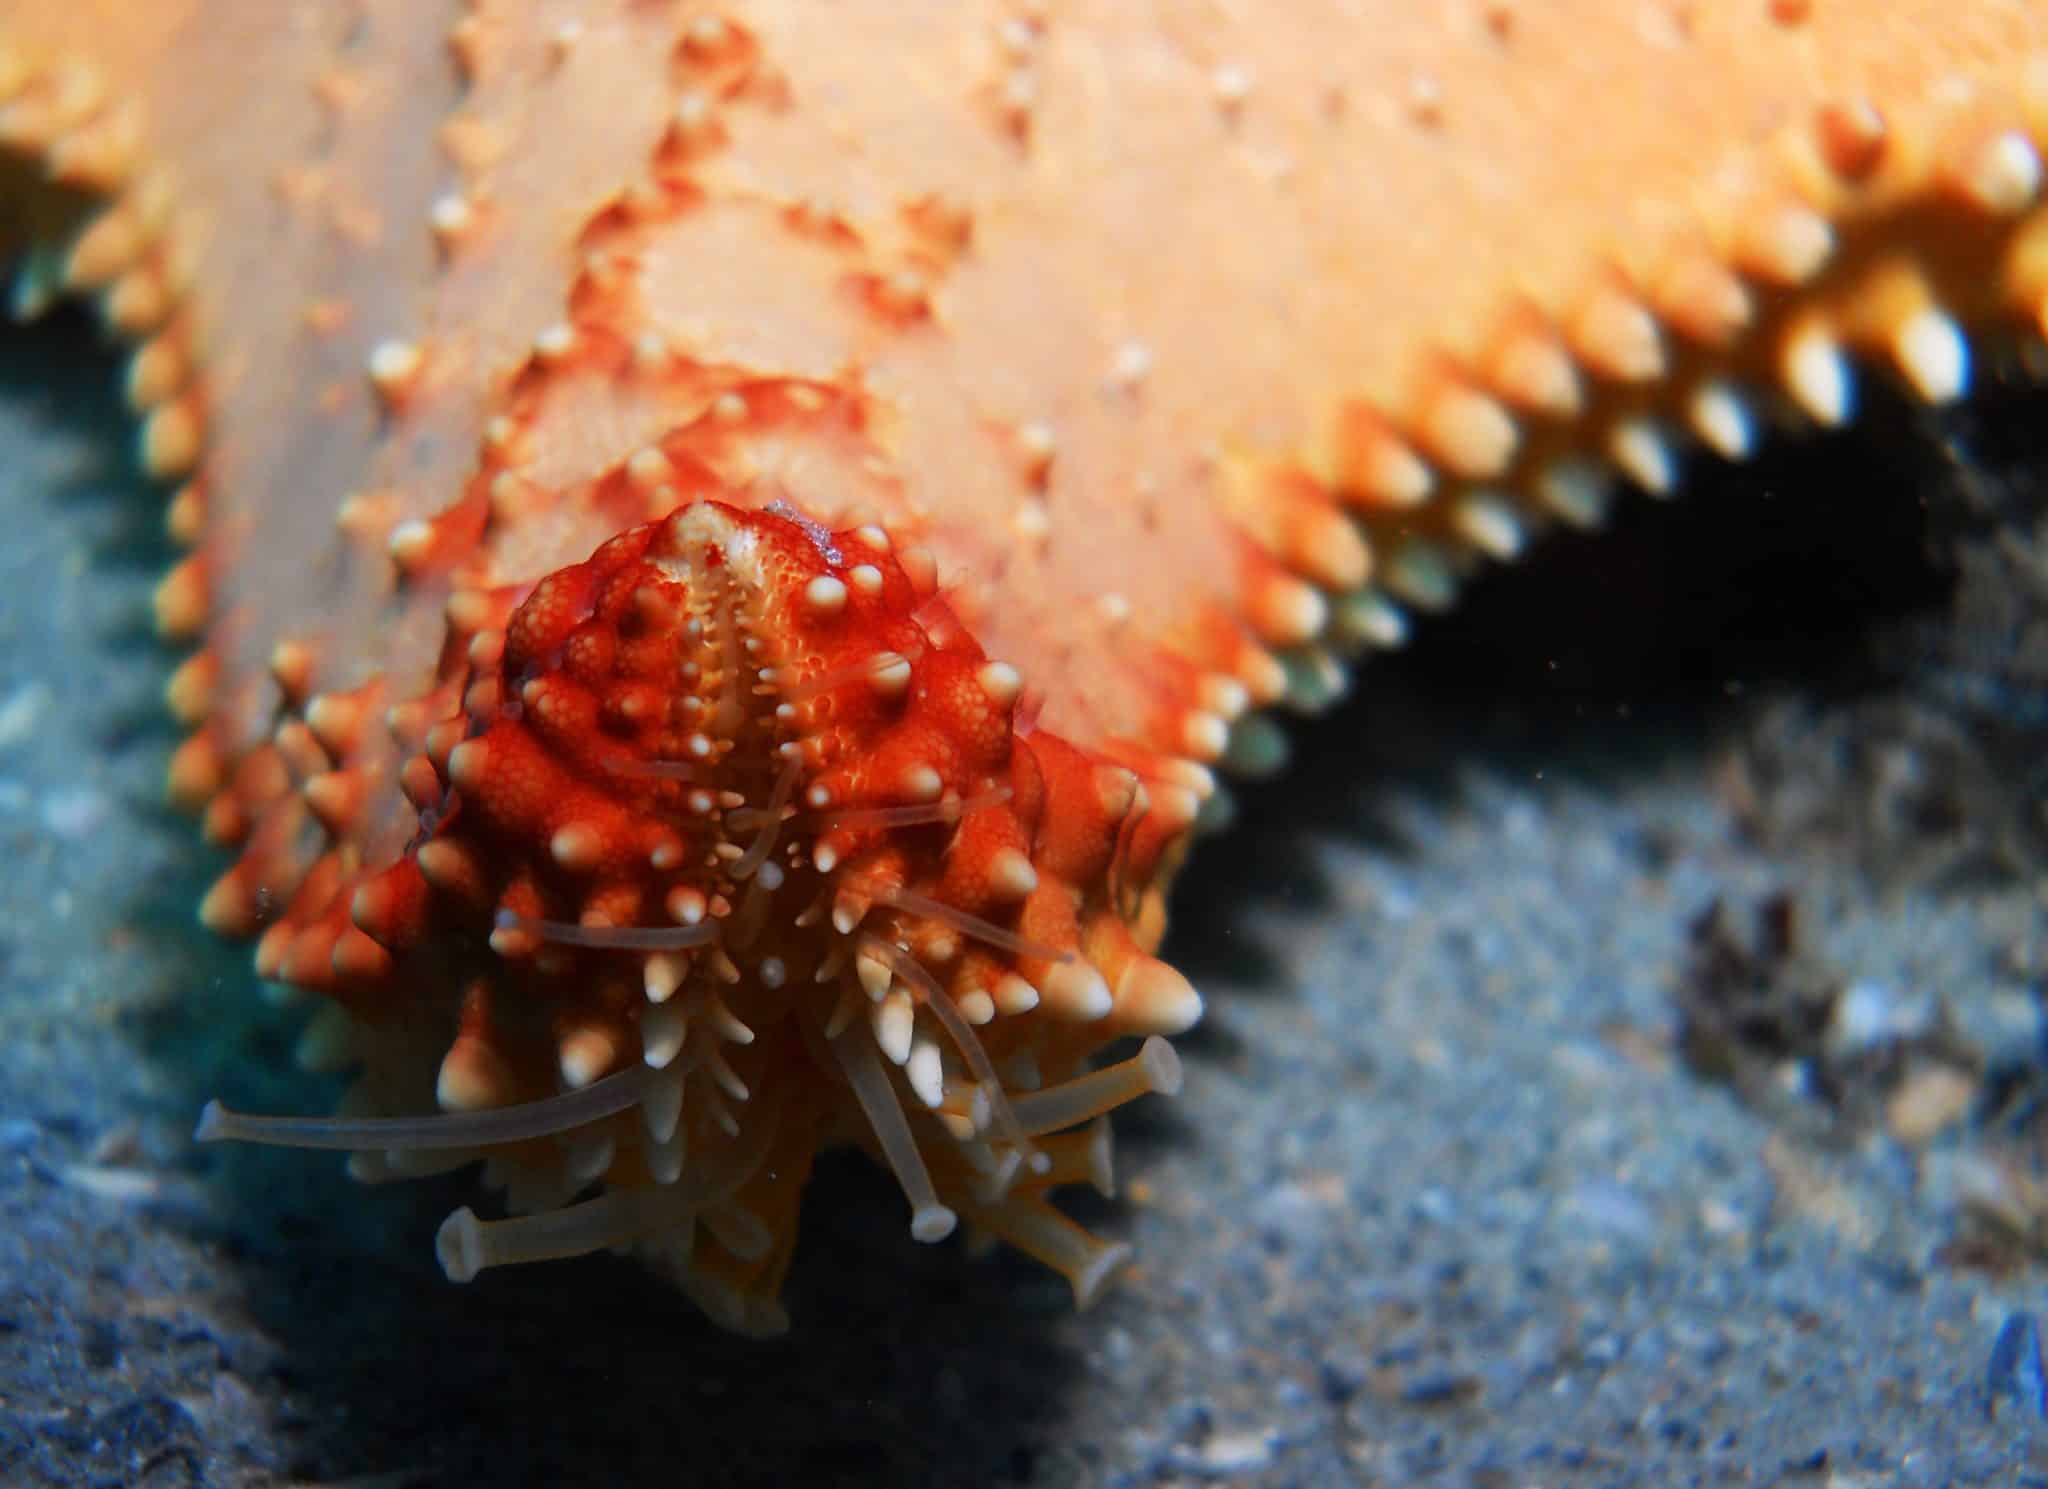
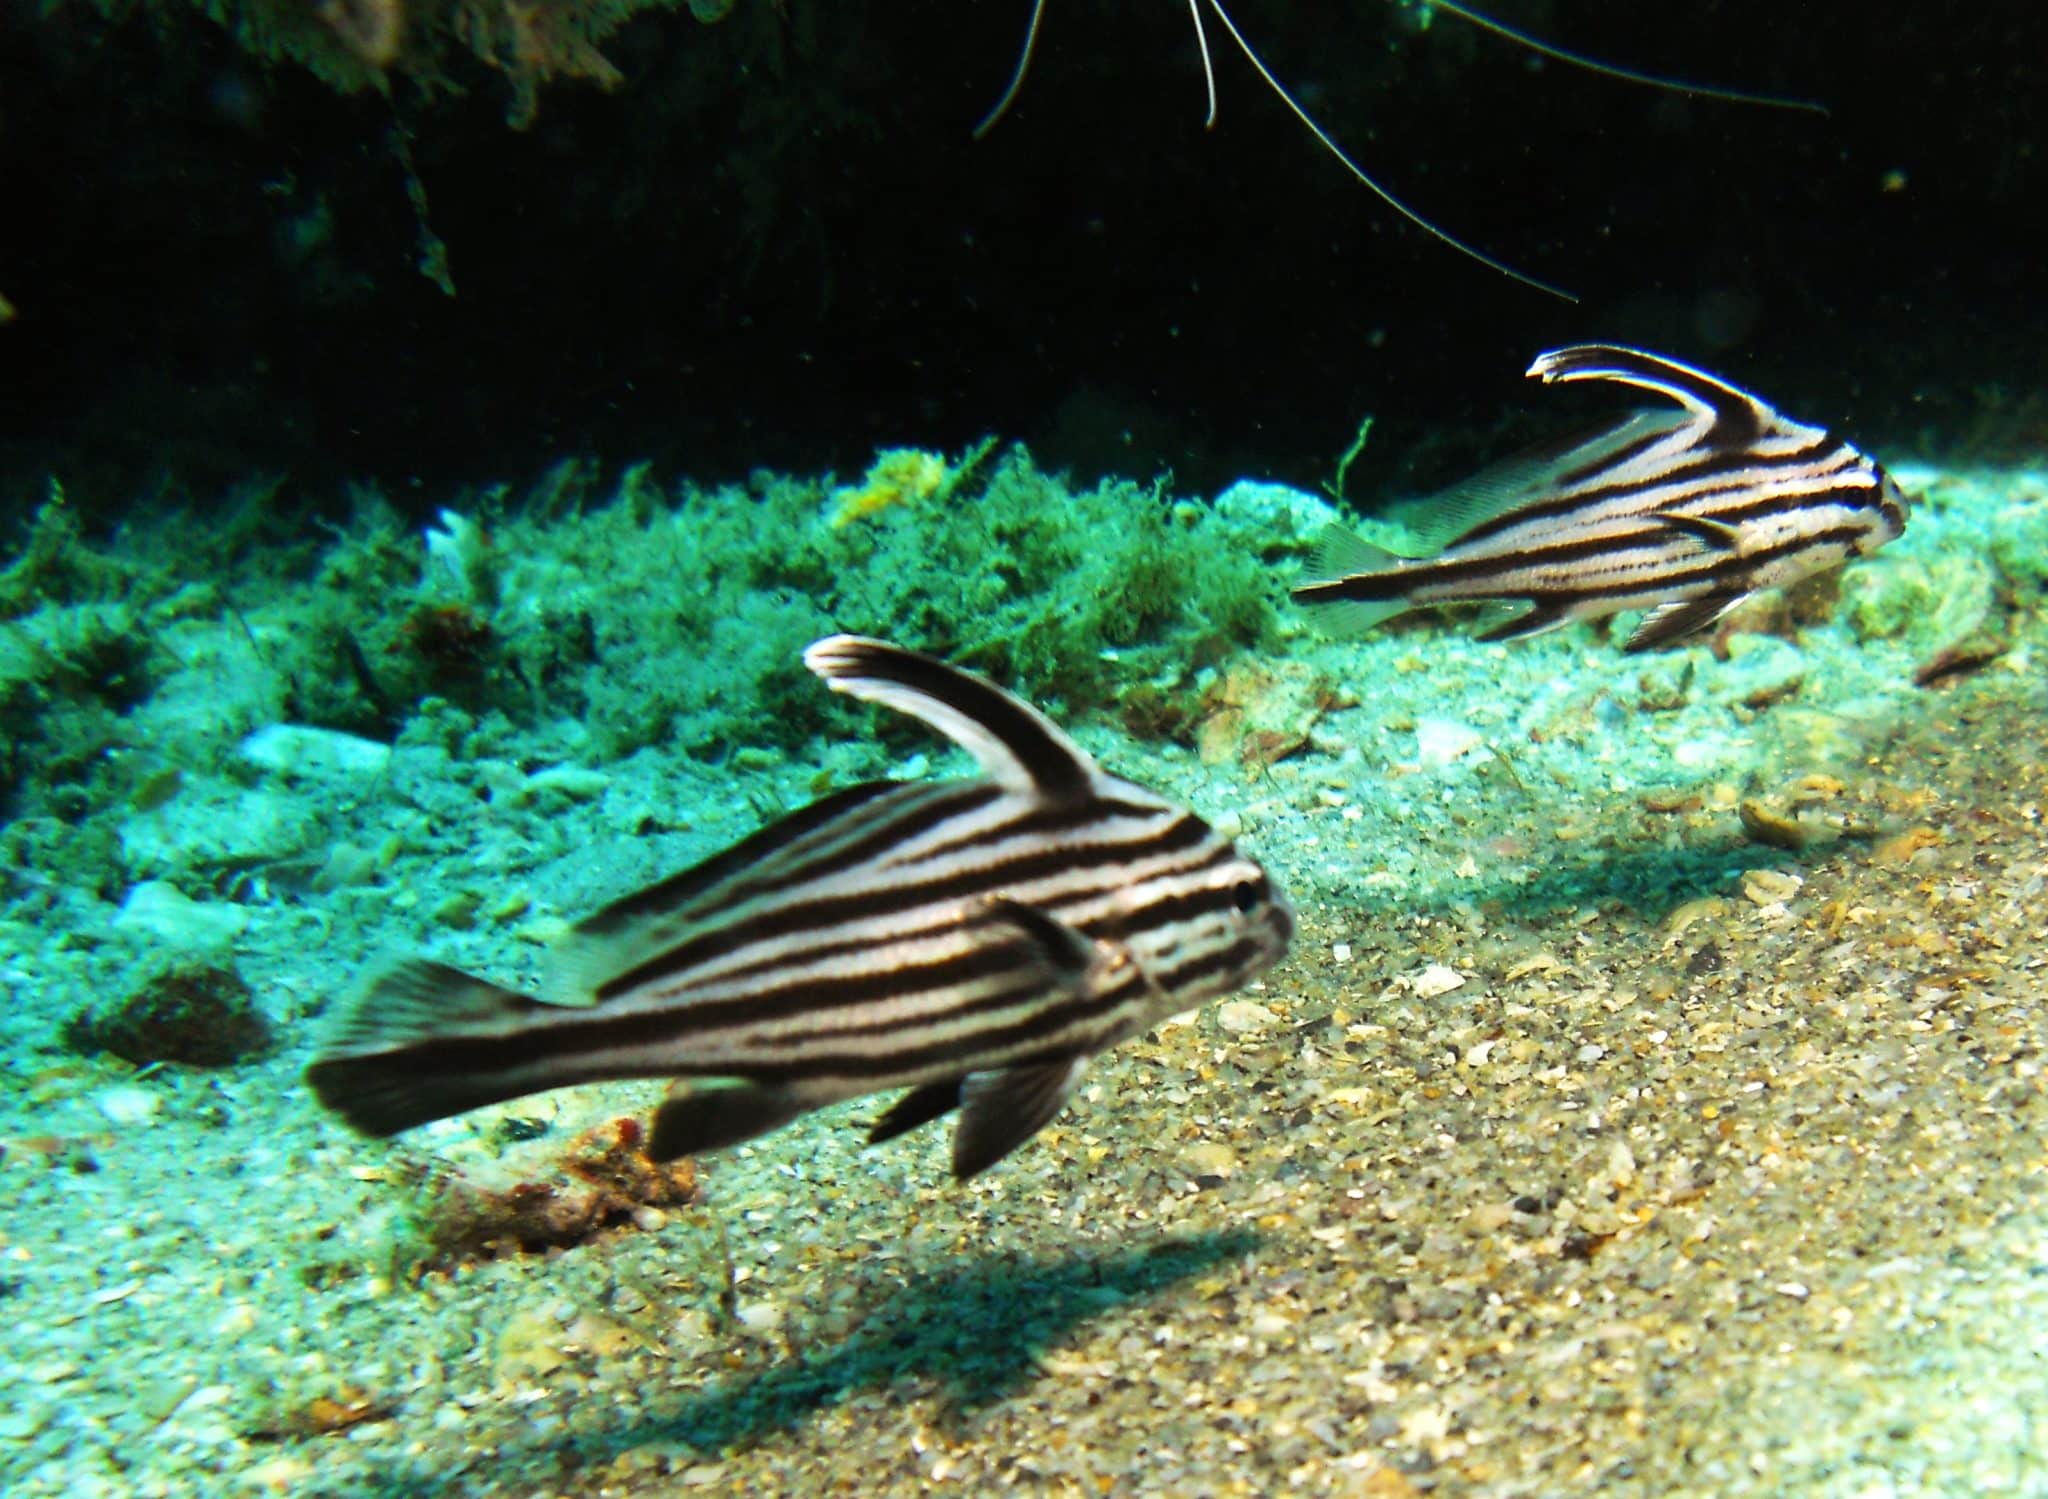
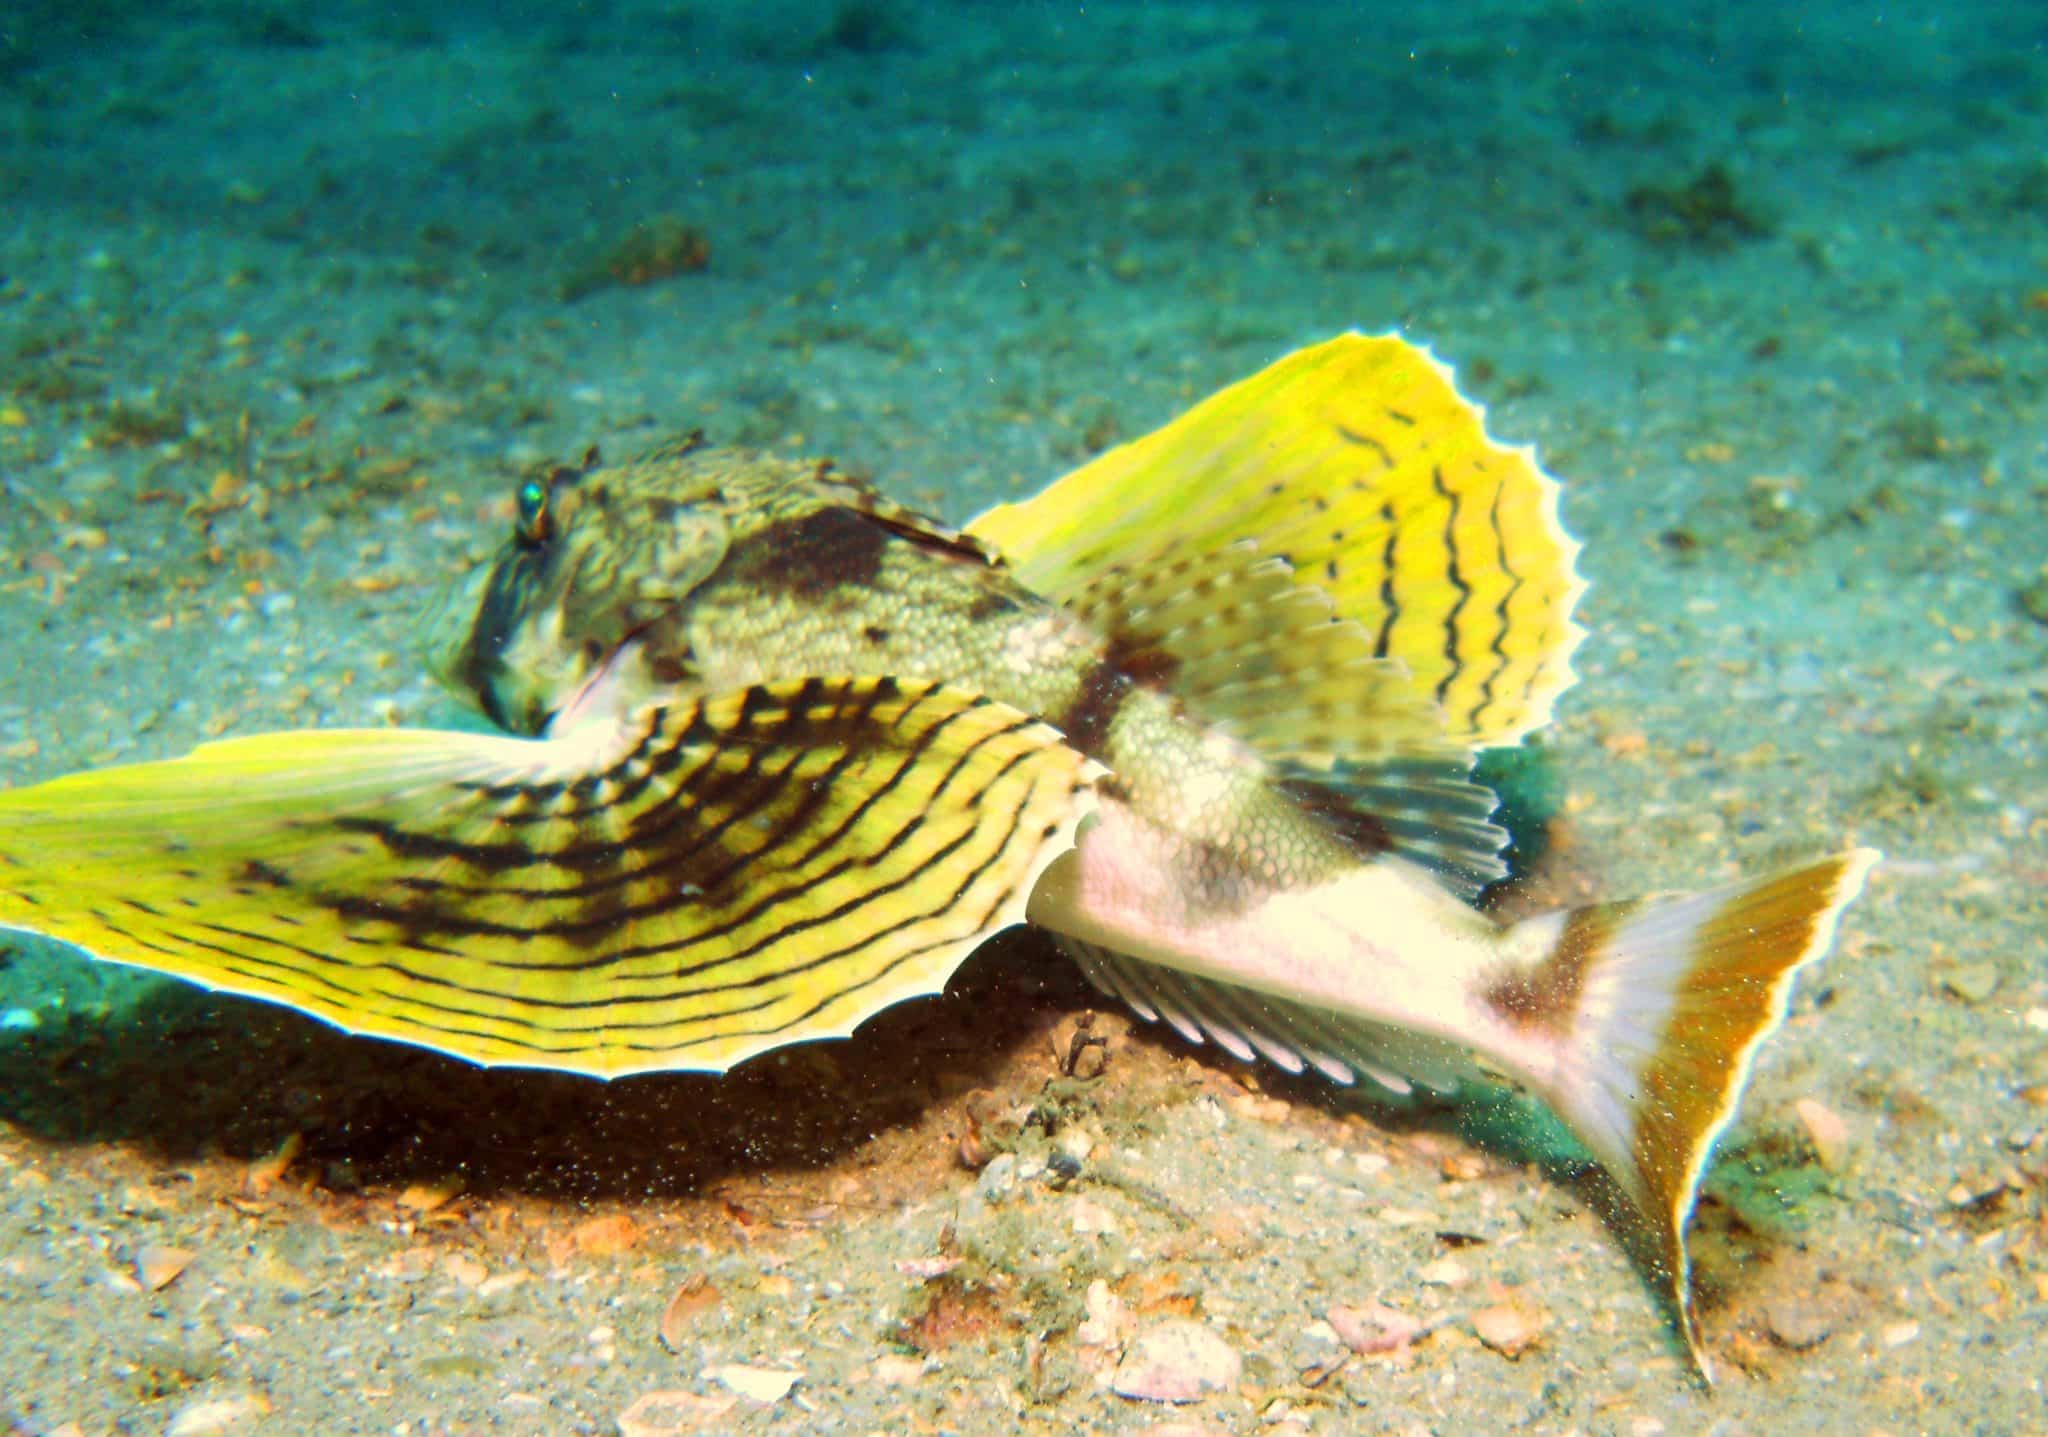
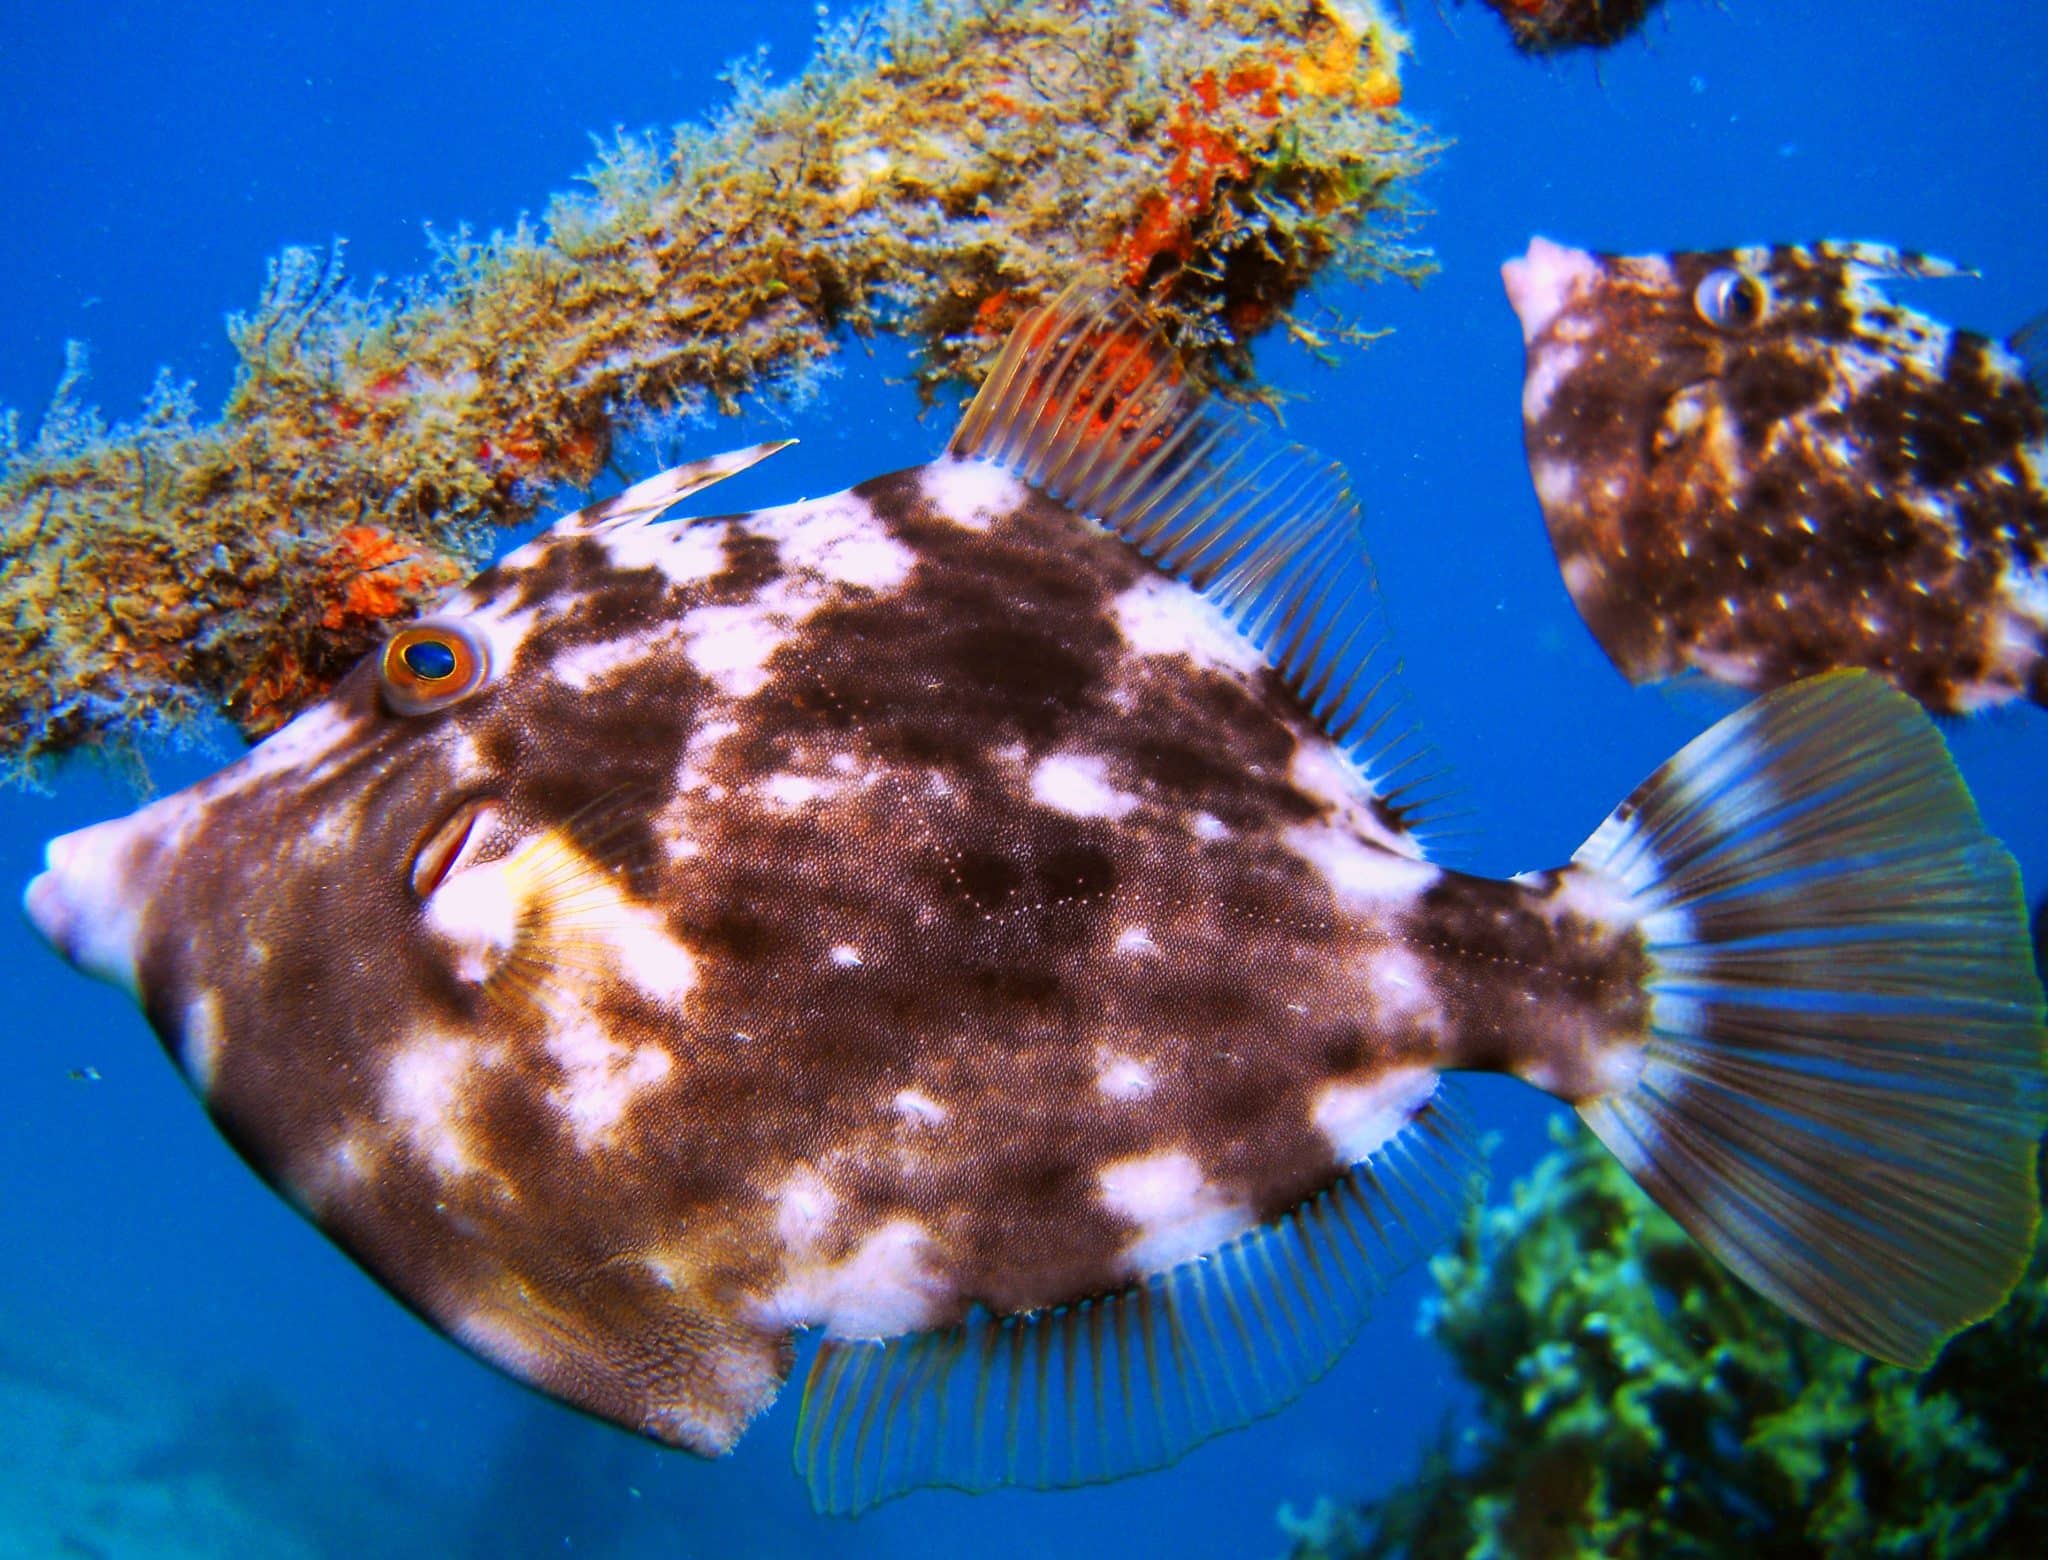
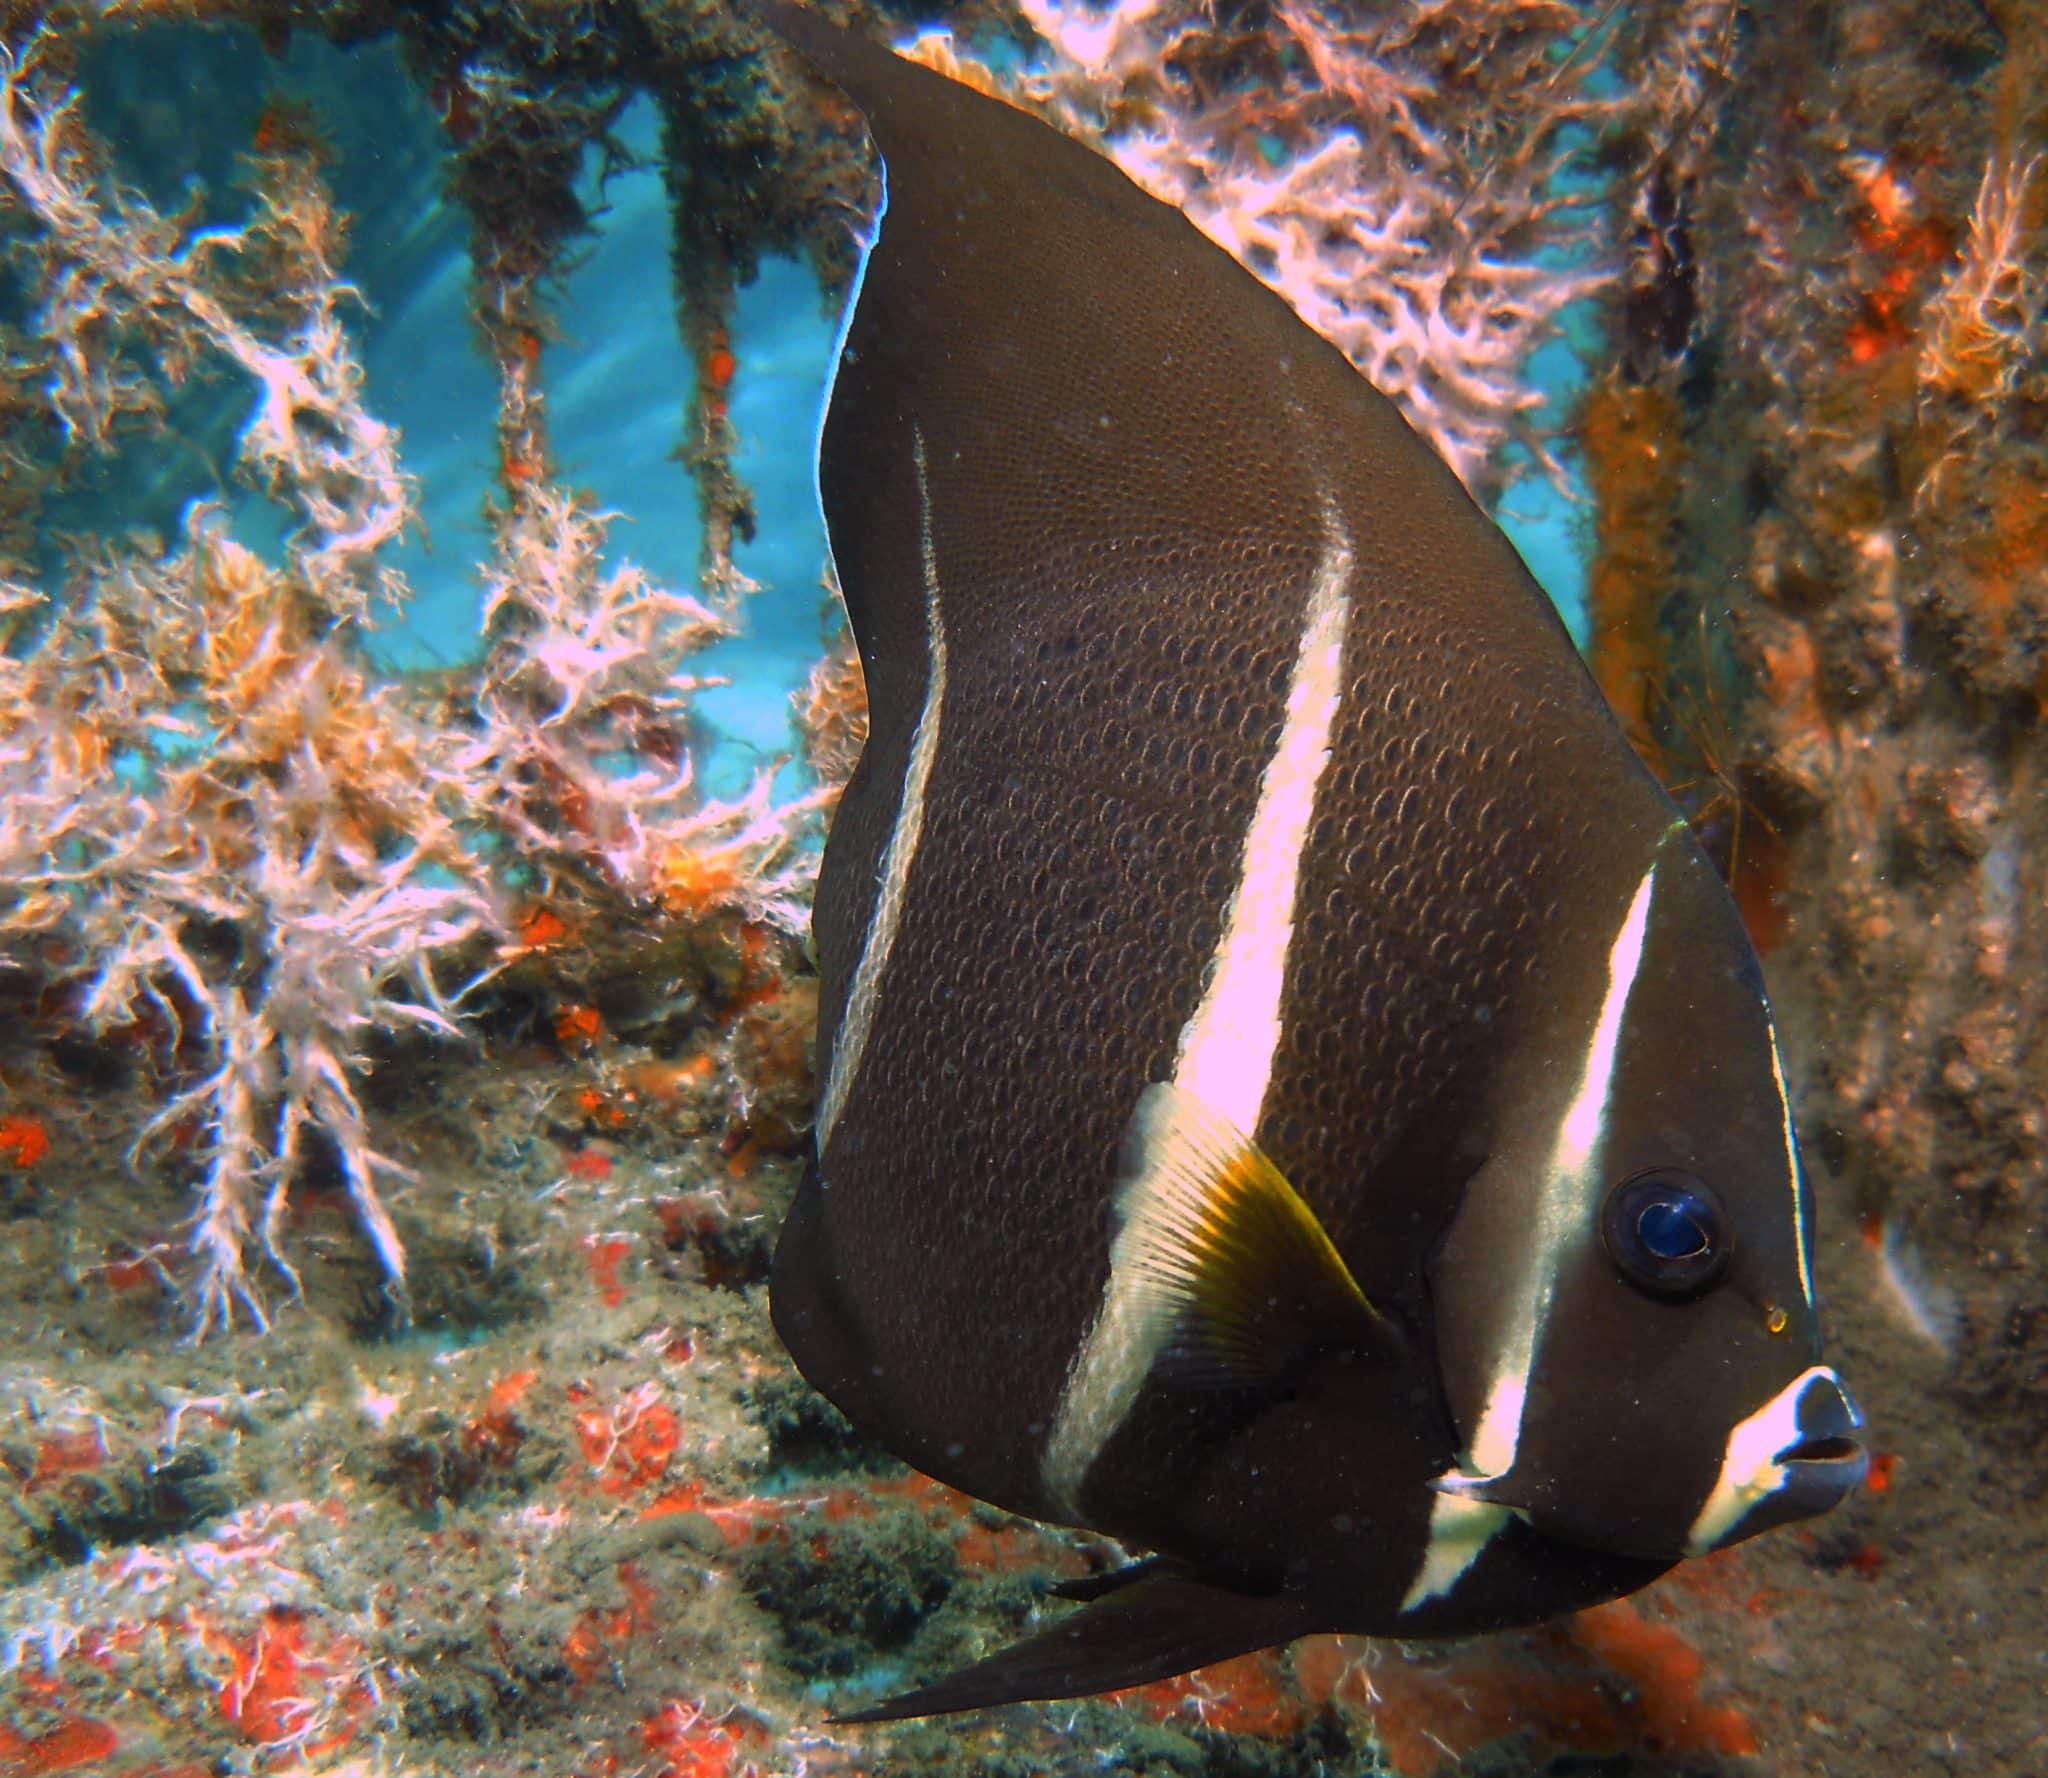
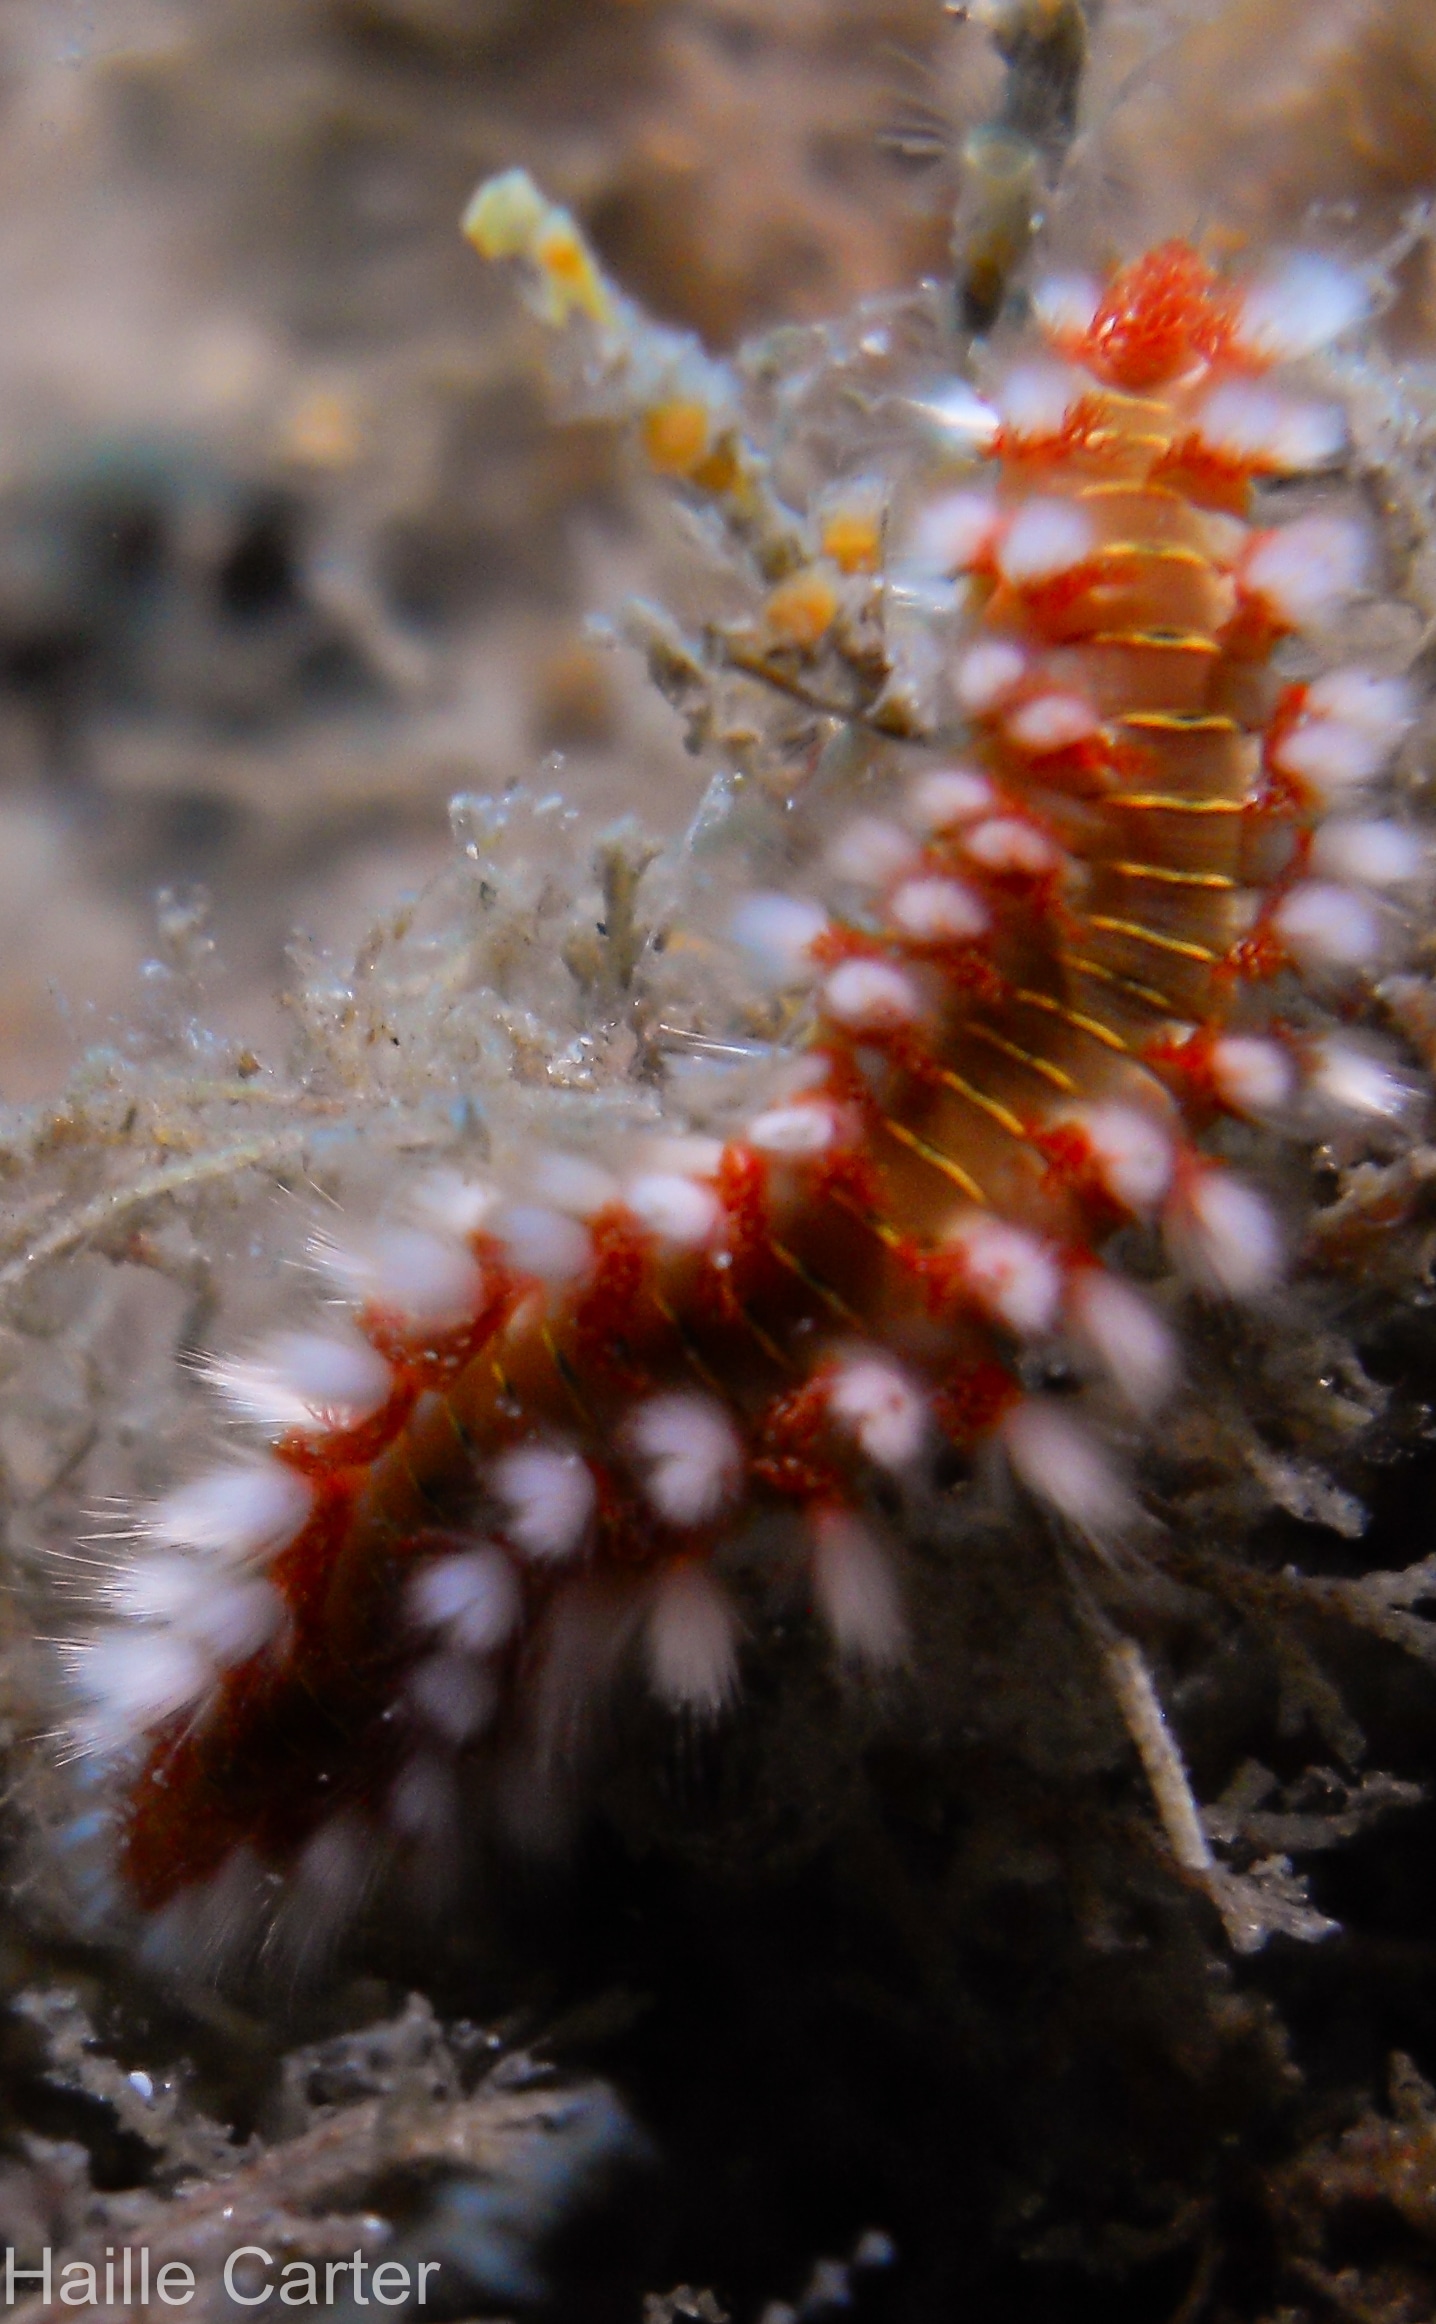
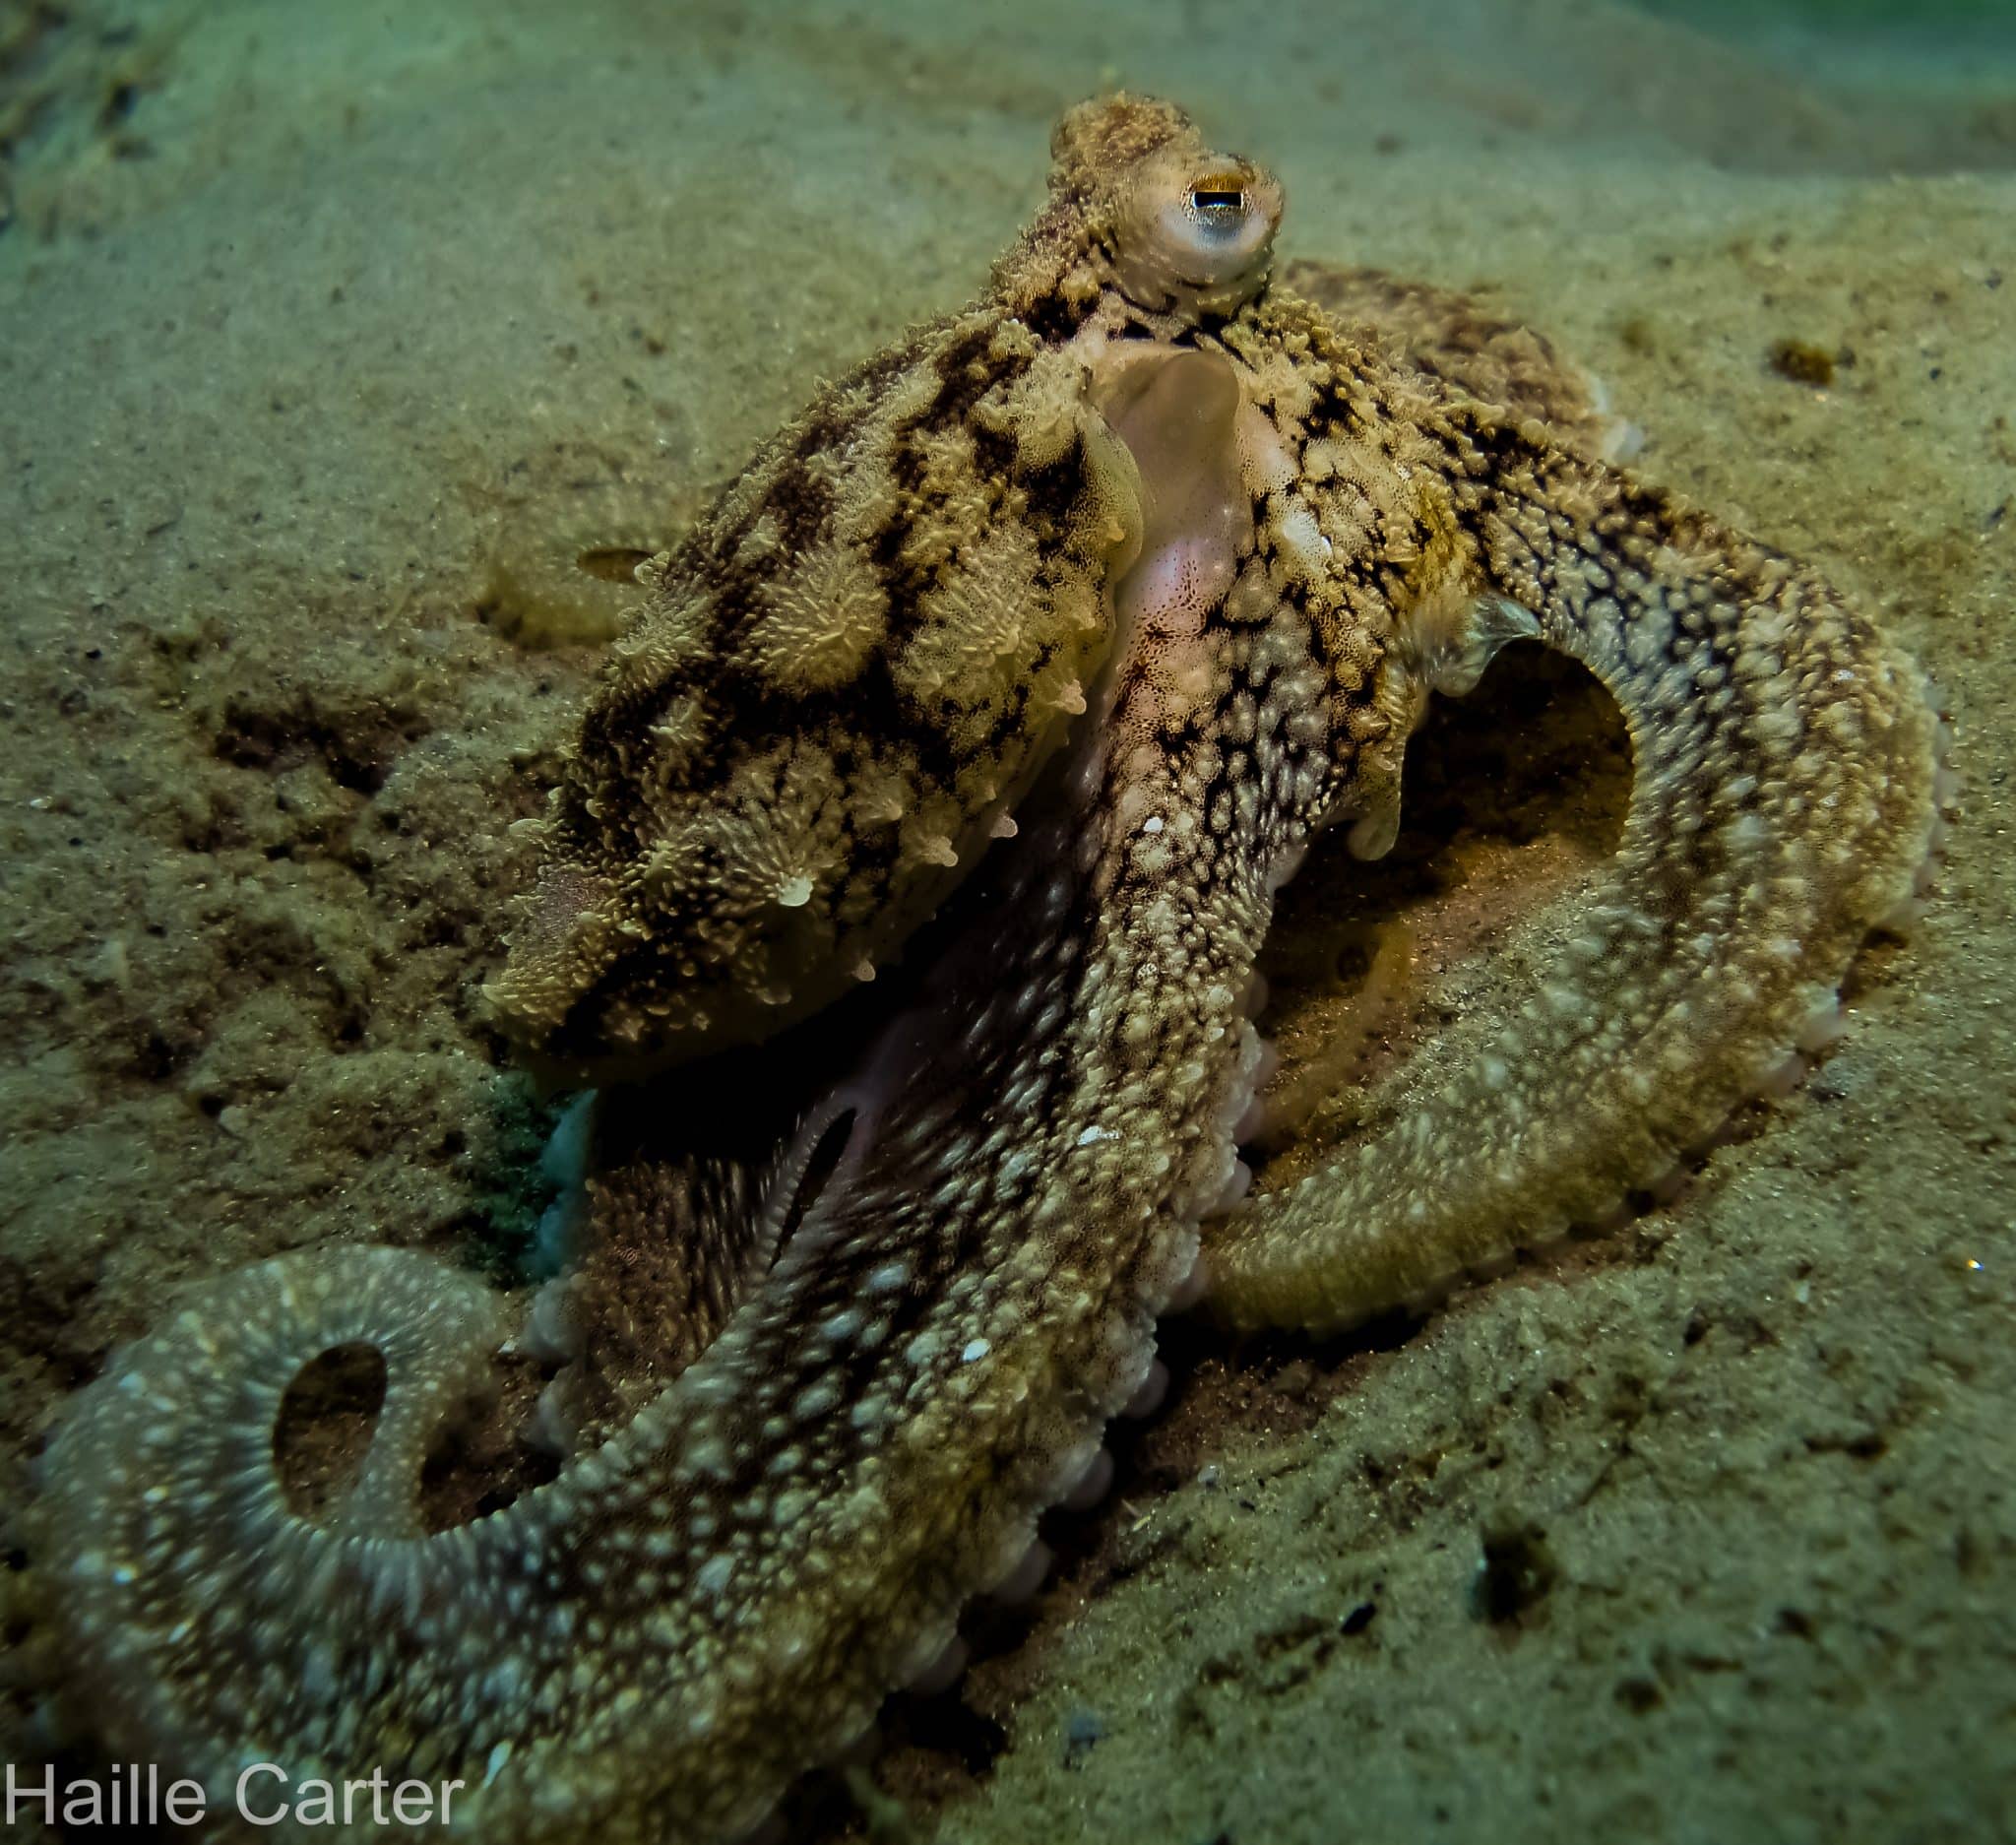
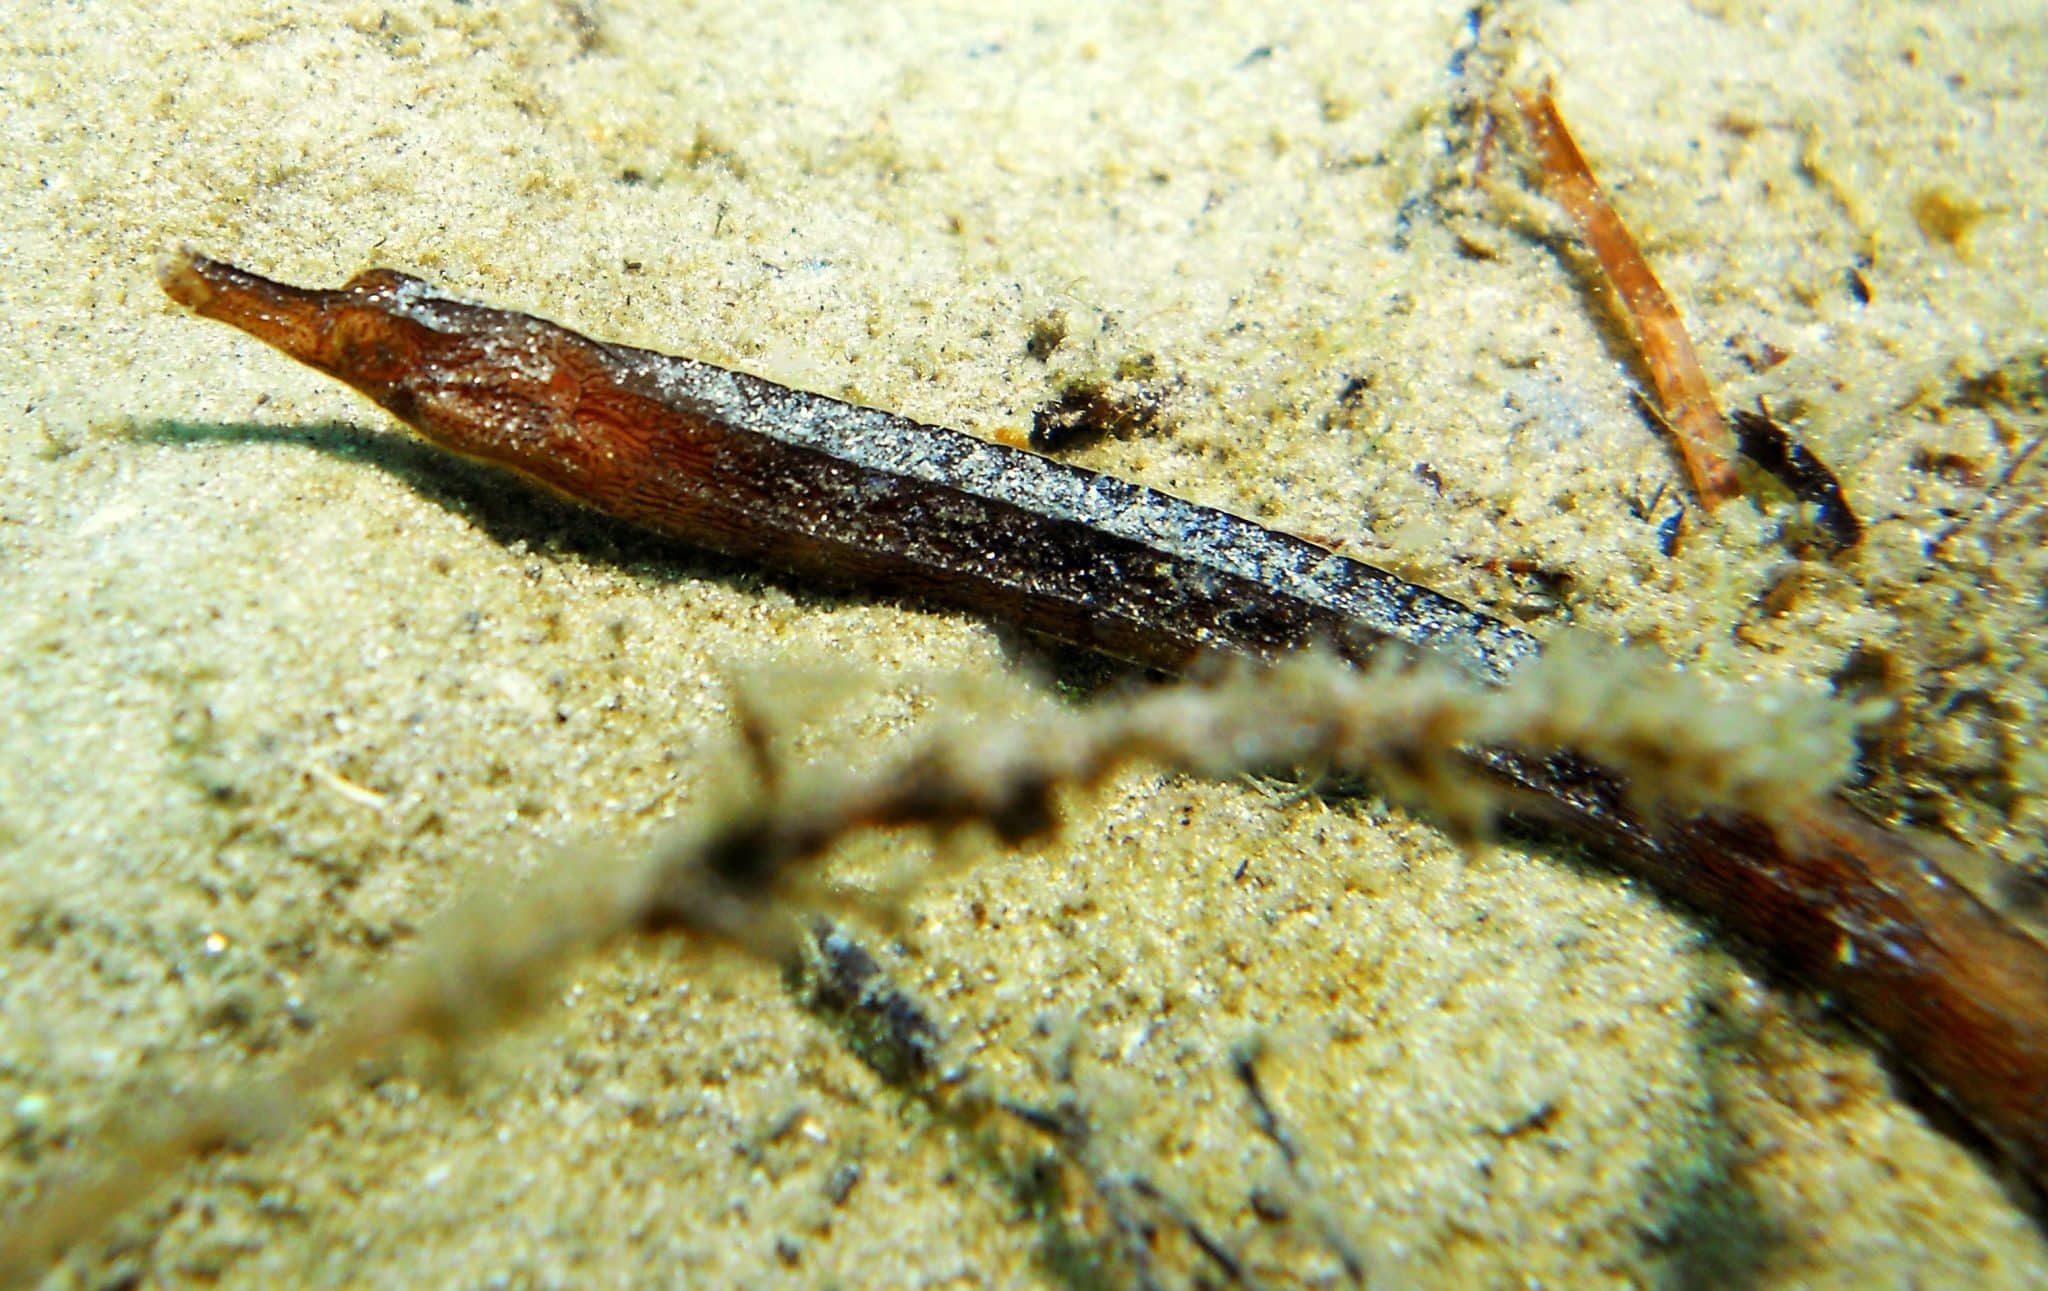
Although I only have a small point and shoot Nikon Coolpix L22 (Ikelite housing & single strobe), I was excited to see some improvement in my own pictures throughout the weekend:

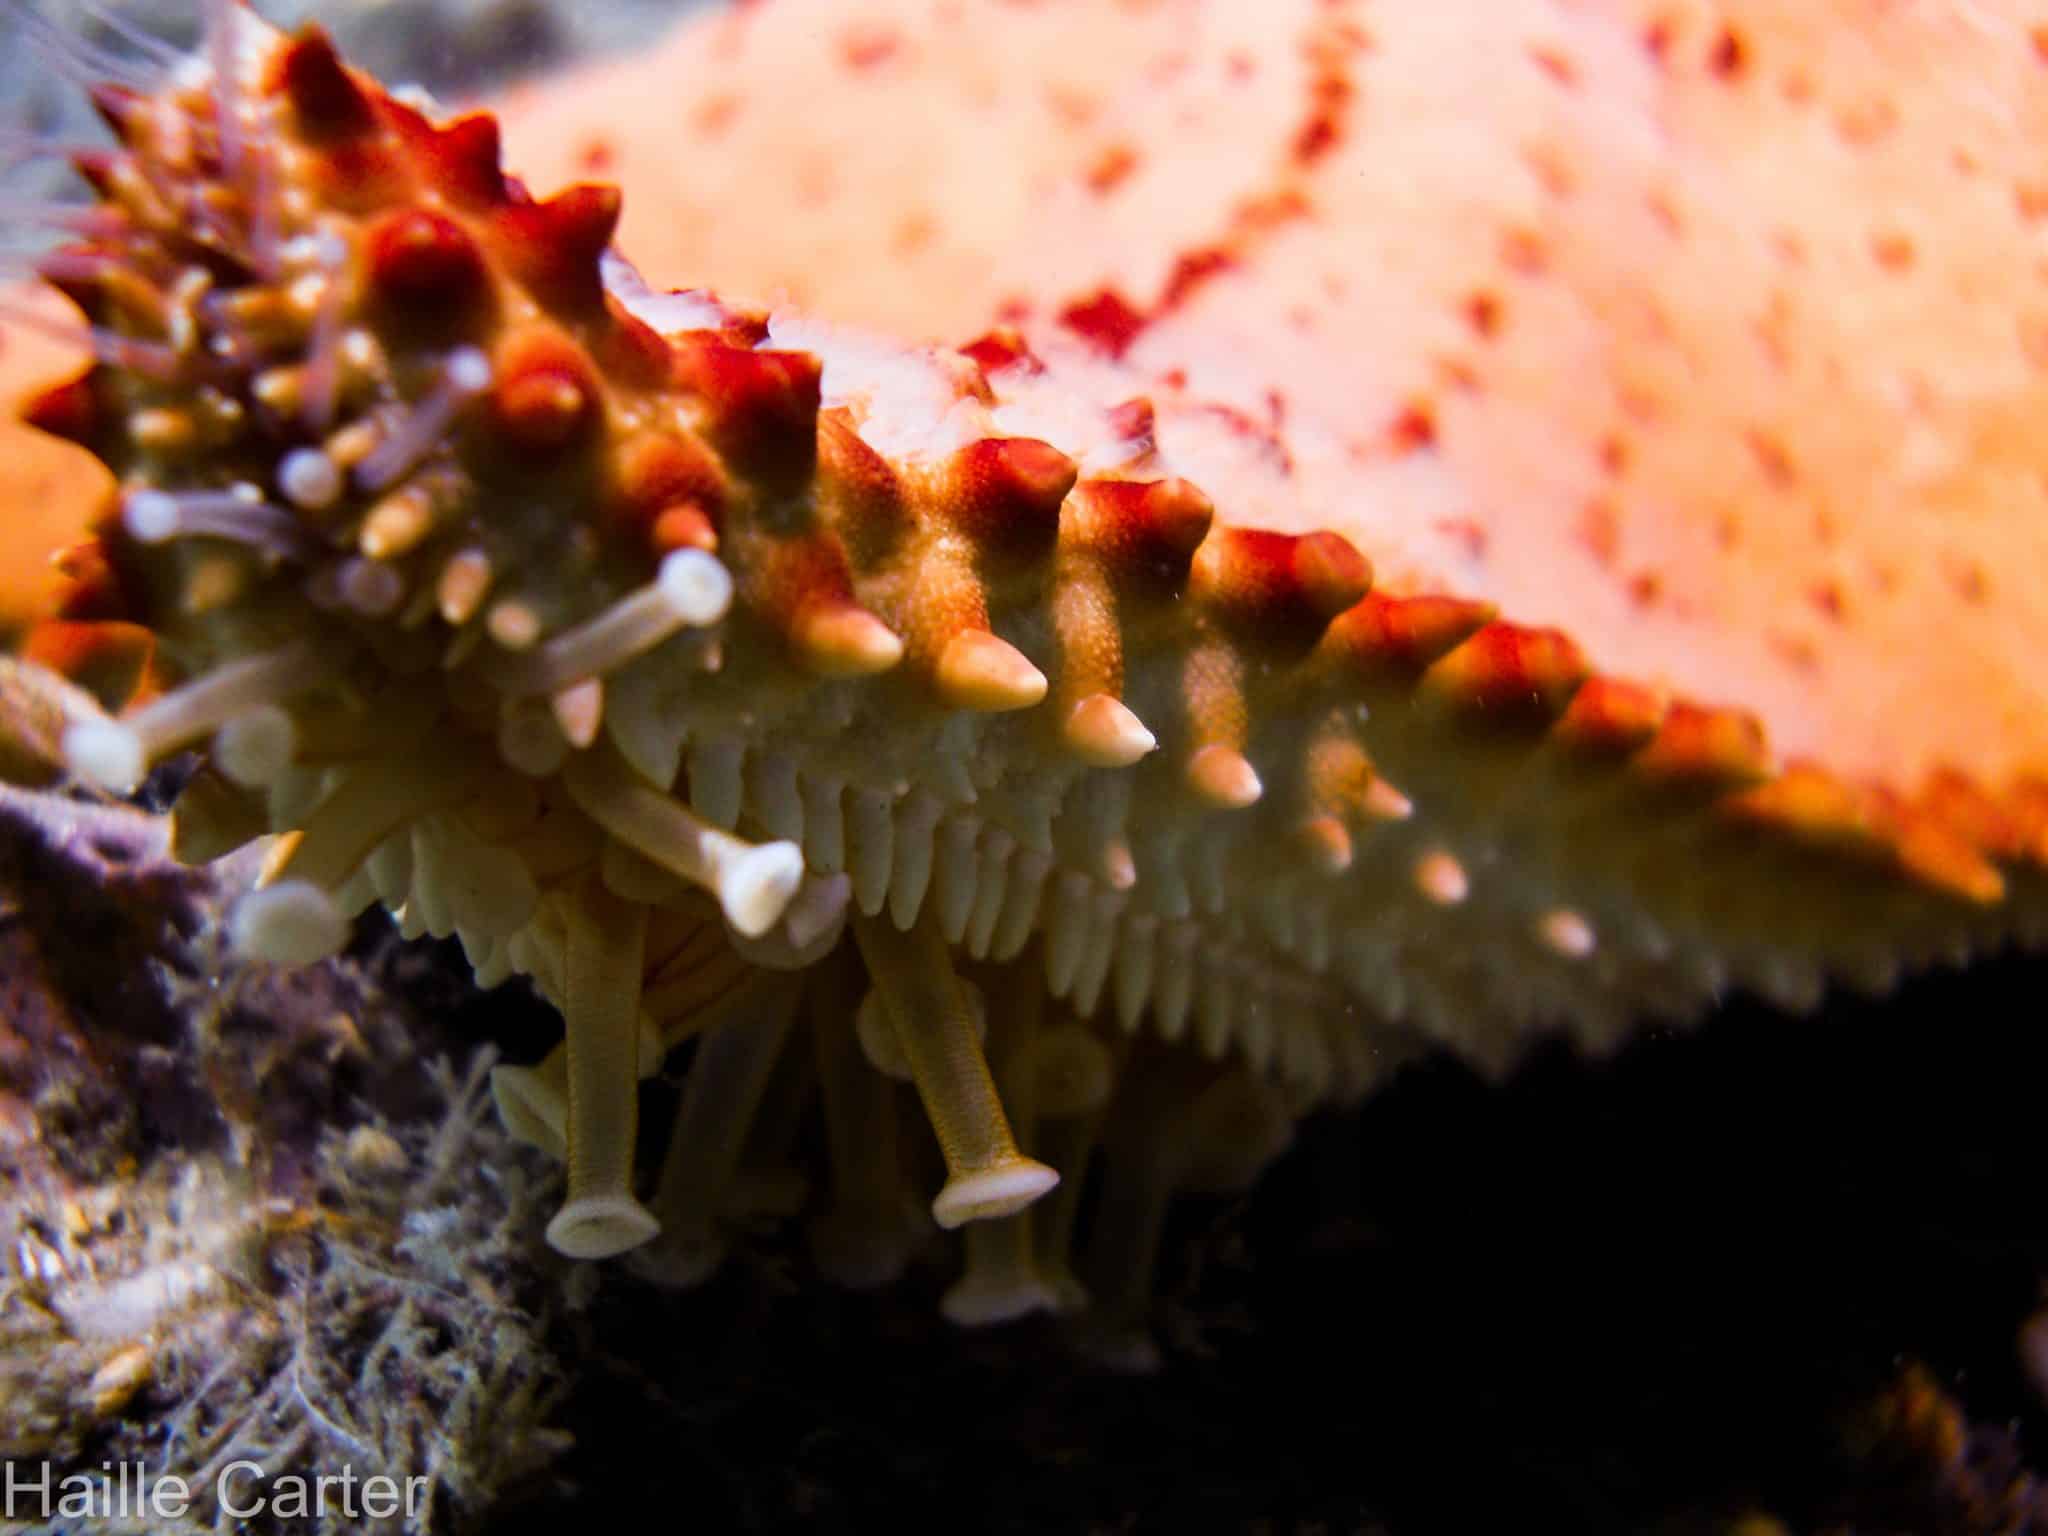
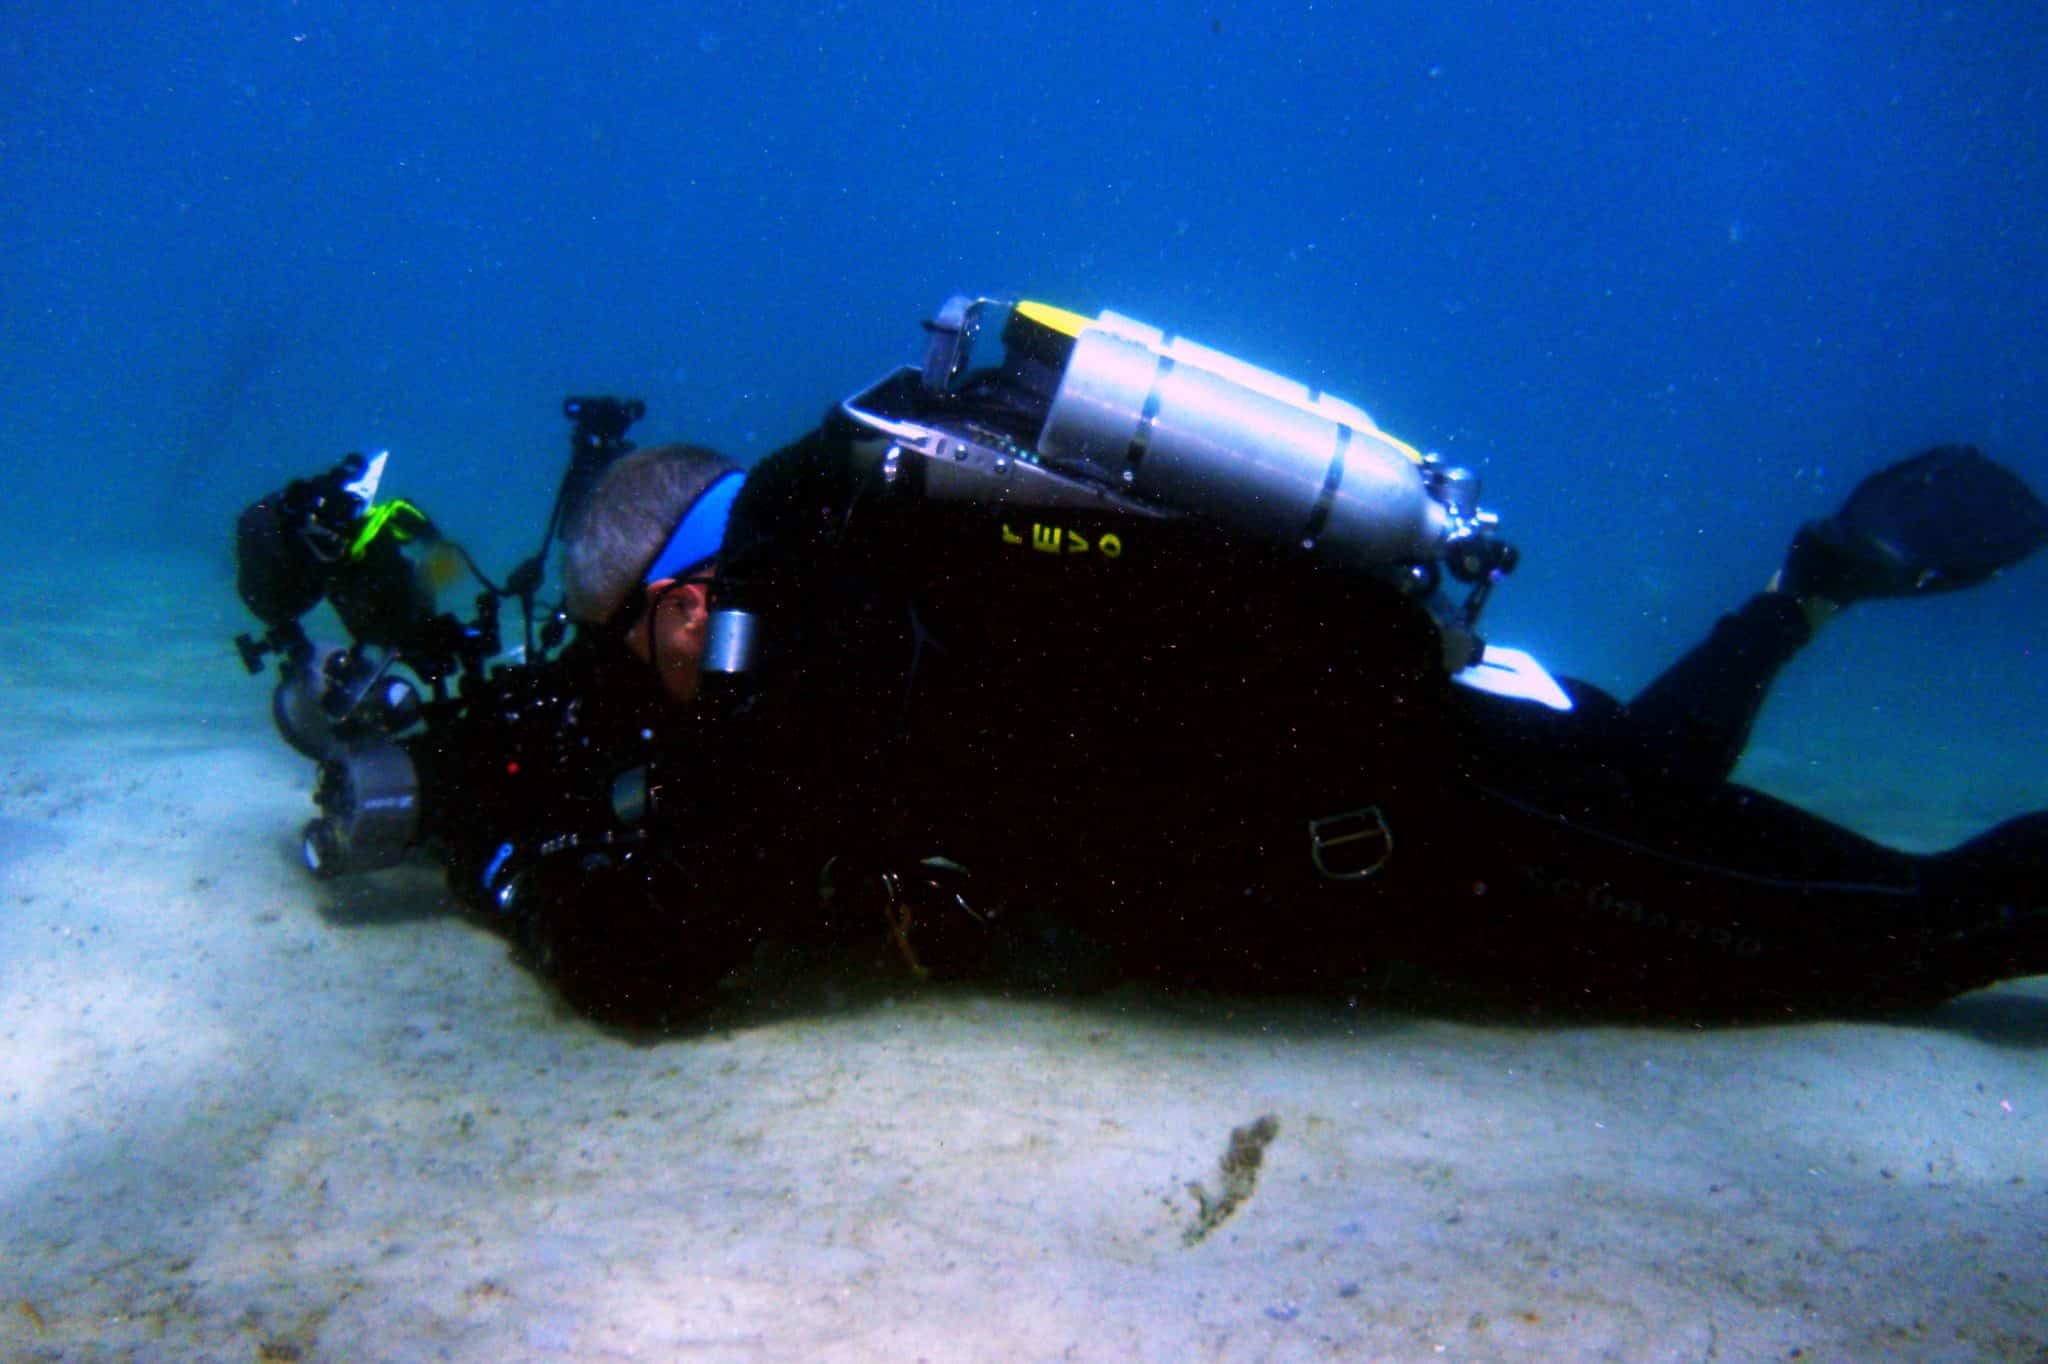
Even though I got some decent shoots, after looking at the other divers’ images I know it is definitely time to upgrade! Their SLRs with multiple strobes and lights really capture the incredible colors and life of the underwater world.
Now don’t think you have to get a fancy SLR just to get beautiful pictures!
But if you do get comfortable with a point and shoot and want to try something new it might be time to upgrade. Definitely check out which cameras Nauticam provides housing for…their products are incredibly durable and ergonomical. I’m considering the Cannon T3i/600D for myself!
Interested in improving your underwater photography? Contact Pura Vida Divers, Reef Photo, or Nauticam to get information on upcoming classes. Hope to see you underwater soon!

